So you’ve decided to join the rest of the world and dive into the world of podcasting?
Sounds like fun, but the thought of finding the right equipment for recording a podcast can be overwhelming.
If this is you, you might be excited to get started but sitting there scratching your head wondering where to begin. So let’s get started and talk about the best basic equipment to get your podcast sounding professional and your workflow, efficient.
Table of Contents
Getting Started: Equipment for Recording a Podcast
If you’re serious about podcasting, investing in the right equipment has to be at the top of your to do list. It can help transform a dodgy home recording into a polished show.
There’s a bunch of stuff to think about, including microphones, headphones, audio interfaces, and editing software. Each is important to get your poddy sounding schmick!
If this is all sounding expensive already, don’t worry… it doesn’t have to be. There’s a lot of great equipment out there on the market to give you real bang for your buck, including some of the most popular equipment that other podcasters and I are using right now.
Higher quality audio will make your podcast easier to listen to. There’s nothing worse than trying to listen to something when the audio is terrible. The content could be awesome, but if people can’t stand the sound the poor quality of your audio, they’re out!
This can make a big difference in growing your audience, so get it right before you start.
>>> Take Your Podcast to the Next Level with Sound Design <<<
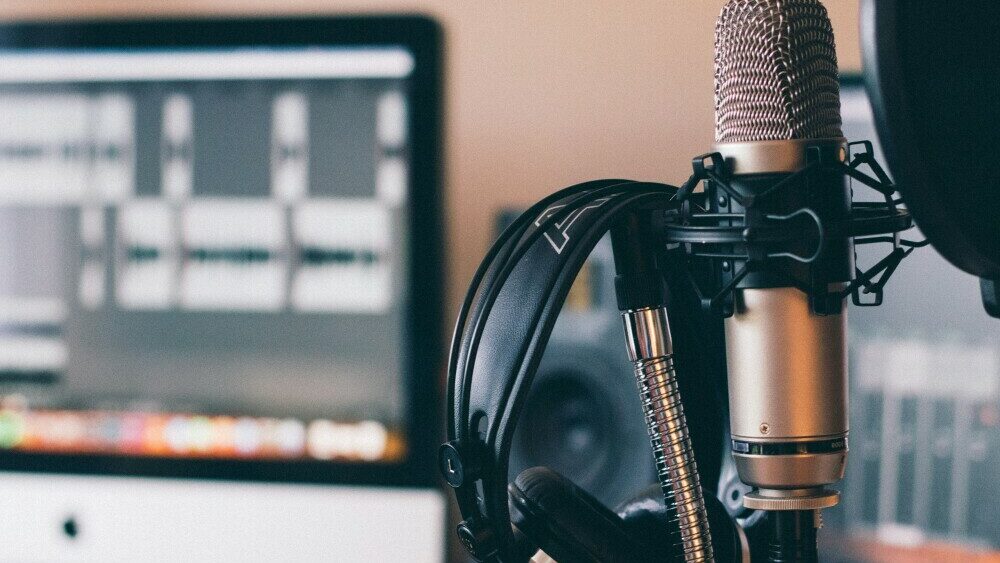 Choosing the Right Mic
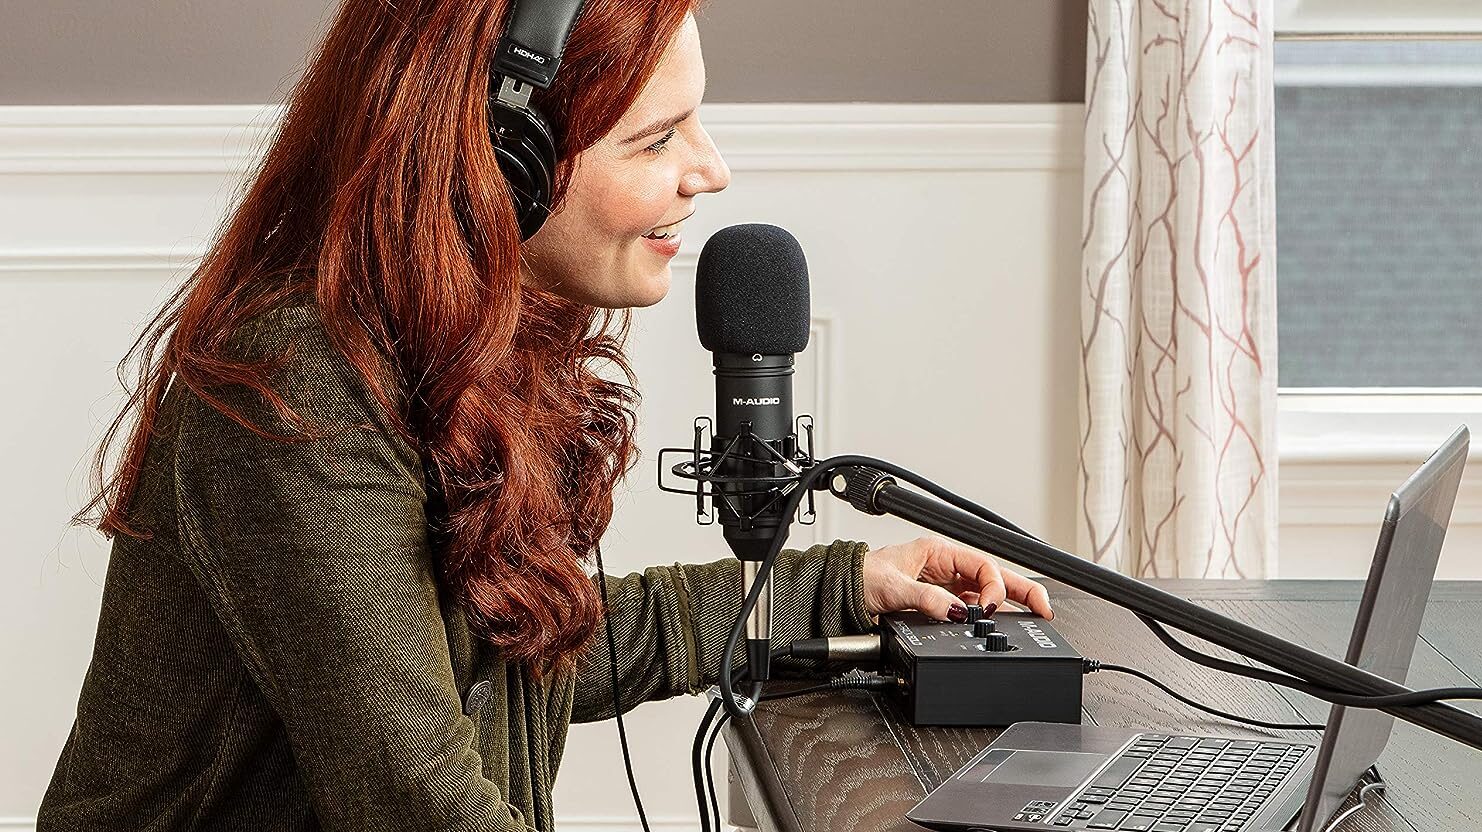
Choosing the right microphone or microphones is the first and most important thing you need to do when getting started. Get it right and you’ll have a professional sound. Get it wrong and you’ll sound like the kid shouting out specials on the PA at the supermarket.
I’ll walk you through selecting a mic that suits both your voice and your budget.
Podcasters are often debating over the best mics to use. Some like the warmth and with of condenser microphones. Others prefer the targeted sound of dynamic mics. Consider the environment you’ll be recording in, and what you’re recording.
Dynamic mics are typically a bit tougher and better for handling noise. They are much more directional, targeting your voices, so great for recording in noisier environments. Condenser mics, on the other hand, are more sensitive and pick up a wider range of frequencies, perfect for studio-like settings, or if you want to capture the sound around you.
Here are some examples of mics postmasters love using.
Shure SM7B (Dynamic): The Shure SM7B is known for its flat, wide-range frequency response, great for music and speech. It also reduces background noise.
Audio-Technica AT2020 (Condenser): The AT2020 by Audio-Technica is a a fan fave of beginner podcasters. It gives you a wide dynamic range for a warm sound.
Rode NT1-A (Condenser): The Rode NT1-A comes with a low self-noise level, making it one of the world’s quietest studio microphones. It’s a fantastic choice for professional sound.
Heil PR-40 (Dynamic): The Heil PR-40 has a superior dynamic range, perfect for recording vocals. It’s a dynamic microphone with excellent rear noise rejection, for the best sound.
Electro-Voice RE20 (Dynamic): The Electro-Voice RE20 is a professional-grade dynamic microphone known for its Variable-D design that isolates speech from background noise.
Once you have chosen your microphone, remember it’s not just about the mic itself. It’s just as important to have it in the best position when recording. It’s all about finding that sweet spot where your voice sounds great without picking up any unwanted noises.
If you voice is a bit boomy, you might need to get a pop filters. If you need to position your mic over an awkward desk you might need to invest in a boom arm so it can swing around in front of you. These little tweaks can make a big difference to your final recording.
Microphones and accessories vary widely in price.
If you’re just starting out and don’t want to spend a fortune there are plenty of affordable options out there. Once you get into it a bit more and decide you want to upgrade, there’s a whole range of high-quality mics to elevate your recording quality to the next level.
It’s about finding the right balance between quality and your budget.
>>> Go Deeper on Microphones here <<<
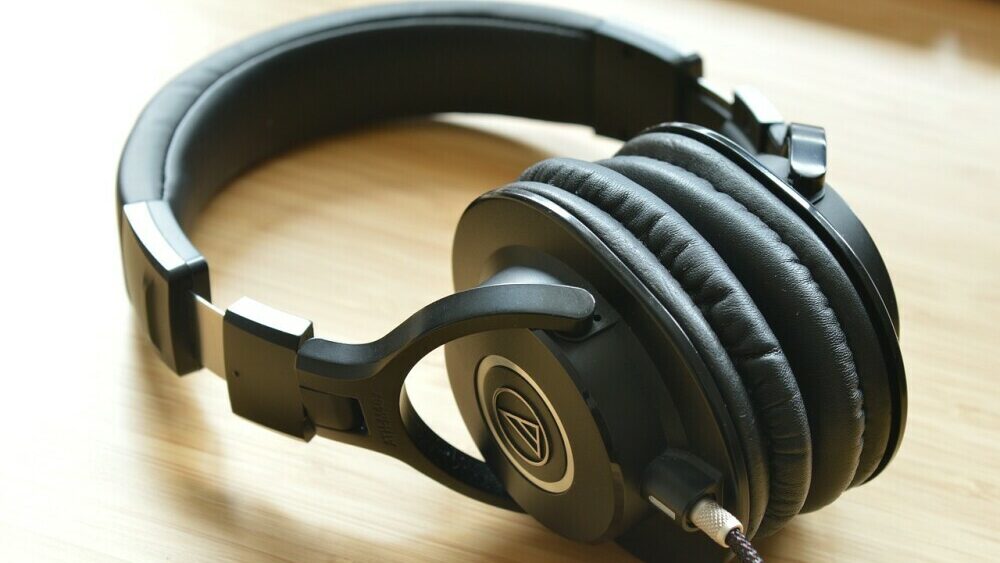 Headphones and Monitoring Sound
One thing start up podcasters often forget or don’t place enough importance on is headphones. These are really important so you can hear exactly what’s recorded. Quality sound in your ears when recording can also help with the tone of your voice.
You might be thinking, why can’t I just use regular speakers or your everyday earbuds?
Quality headphones give you a direct, isolated sound, necessary when you’re monitoring the audio for clarity, volume levels, and unwanted noise during recording and editing.
Typically, there are two types of headphones recommended for podcasting: closed-back and open-back. Closed-back headphones are the go-to for recording because they isolate sound from your environment, helping prevent microphone feedback. Open-back headphones, while not as isolating, offer a more natural sound, offering a good reference for how your podcast will sound to listeners with typical home audio equipment.
Here’s a list of popular headphones across all price ranges to get started searching.
Audio-Technica ATH-M50x – clarity, wide frequency range, and deep bass response. The ATH-M50x features 45mm drivers, excellent sound isolation, and is foldable for mobility.
Sony MDR-7506 – Priced around $69 USD, the MDR-7506 offers excellent sound quality and durability, with a closed-back design that aids in sound isolation.
Sennheiser HD 280 Pro – An option for quality sound and effective noise isolation at a lower price. These closed-back headphones, typically available for under $100 USD.
Beyerdynamic DT 770 PRO – priced around $159 USD, these closed-back, over-ear headphones are comfortable with good isolation. Professional recording on a budget.
Shure SRH840 – the SRH840 headphones balanced frequency response with a closed-back design for excellent sound isolation. Very comfortable – great for editing and mixing.
The most basic and first aim of your recordings is going to be to maintain consistency. You don’t want episode one to sound completely different to the next for example. The loudness and clarity levels should remain pretty much the same from episode to episode.
This is where your headphones really prove their worth. By identifying discrepancies in audio quality during the recording process, you can save hours of post-production work.
The next step in getting this list of gear together is to dive into the actual recording and editing process. After all podcasting isn’t just about talking into a microphone; it’s about crafting a story your listeners will follow along with and become fully invested in.
>>> Deep Dive into the World of Headphones <<<
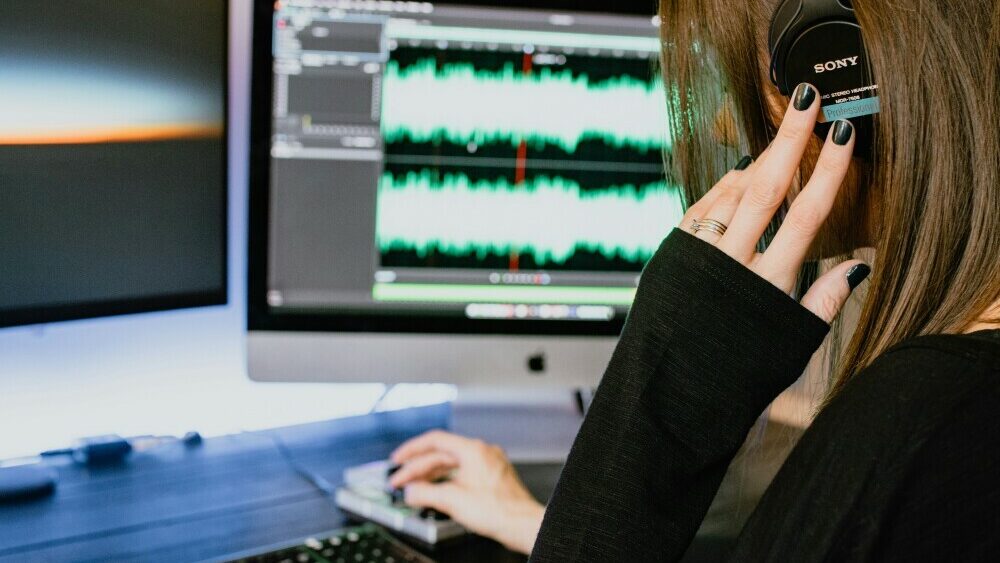 Recording and Editing Software
Choosing the right recording and editing software is your next step.
Selecting the right recording and editing software depends on how technically savvy you are, the complexity of your podcast, and your budget.
If you’re completely green and only just starting out it could be best to go for the simplicity and cost-effectiveness of Audacity or GarageBand, while more experienced podcasters might invest in Adobe Audition or Logic Pro for their advanced features.
Professionals seeking the highest quality and control might go down the Pro Tools road or explore Hindenburg Journalist for its storytelling capabilities.
There are loads of options out there that are made for all skill levels and budgets.
Audacity: A free, open-source software that offers a large suite of editing tools. Audacity is user-friendly, making it ideal for those new to podcasting. It supports multi-track editing so you can layer things like music, and provides a variety of effects to enhance your audio.
GarageBand: Exclusively for Mac users, GarageBand is another beginner-friendly option that comes pre-installed on macOS devices. It features an intuitive interface and includes lots of loops, effects, and instruments so add music to your podcast.
Adobe Audition: Part of the Adobe Creative Cloud, Audition is a powerful tool that offers advanced features such as noise reduction, spectral frequency display, and multi-track editing. It’s a great choice for podcasters ready to take their production to the next level.
Logic Pro: A step up from GarageBand, Logic Pro offers comprehensive features for macOS users, including an extensive library of sounds and plugins, sophisticated editing capabilities, and seamless integration with other Apple products.
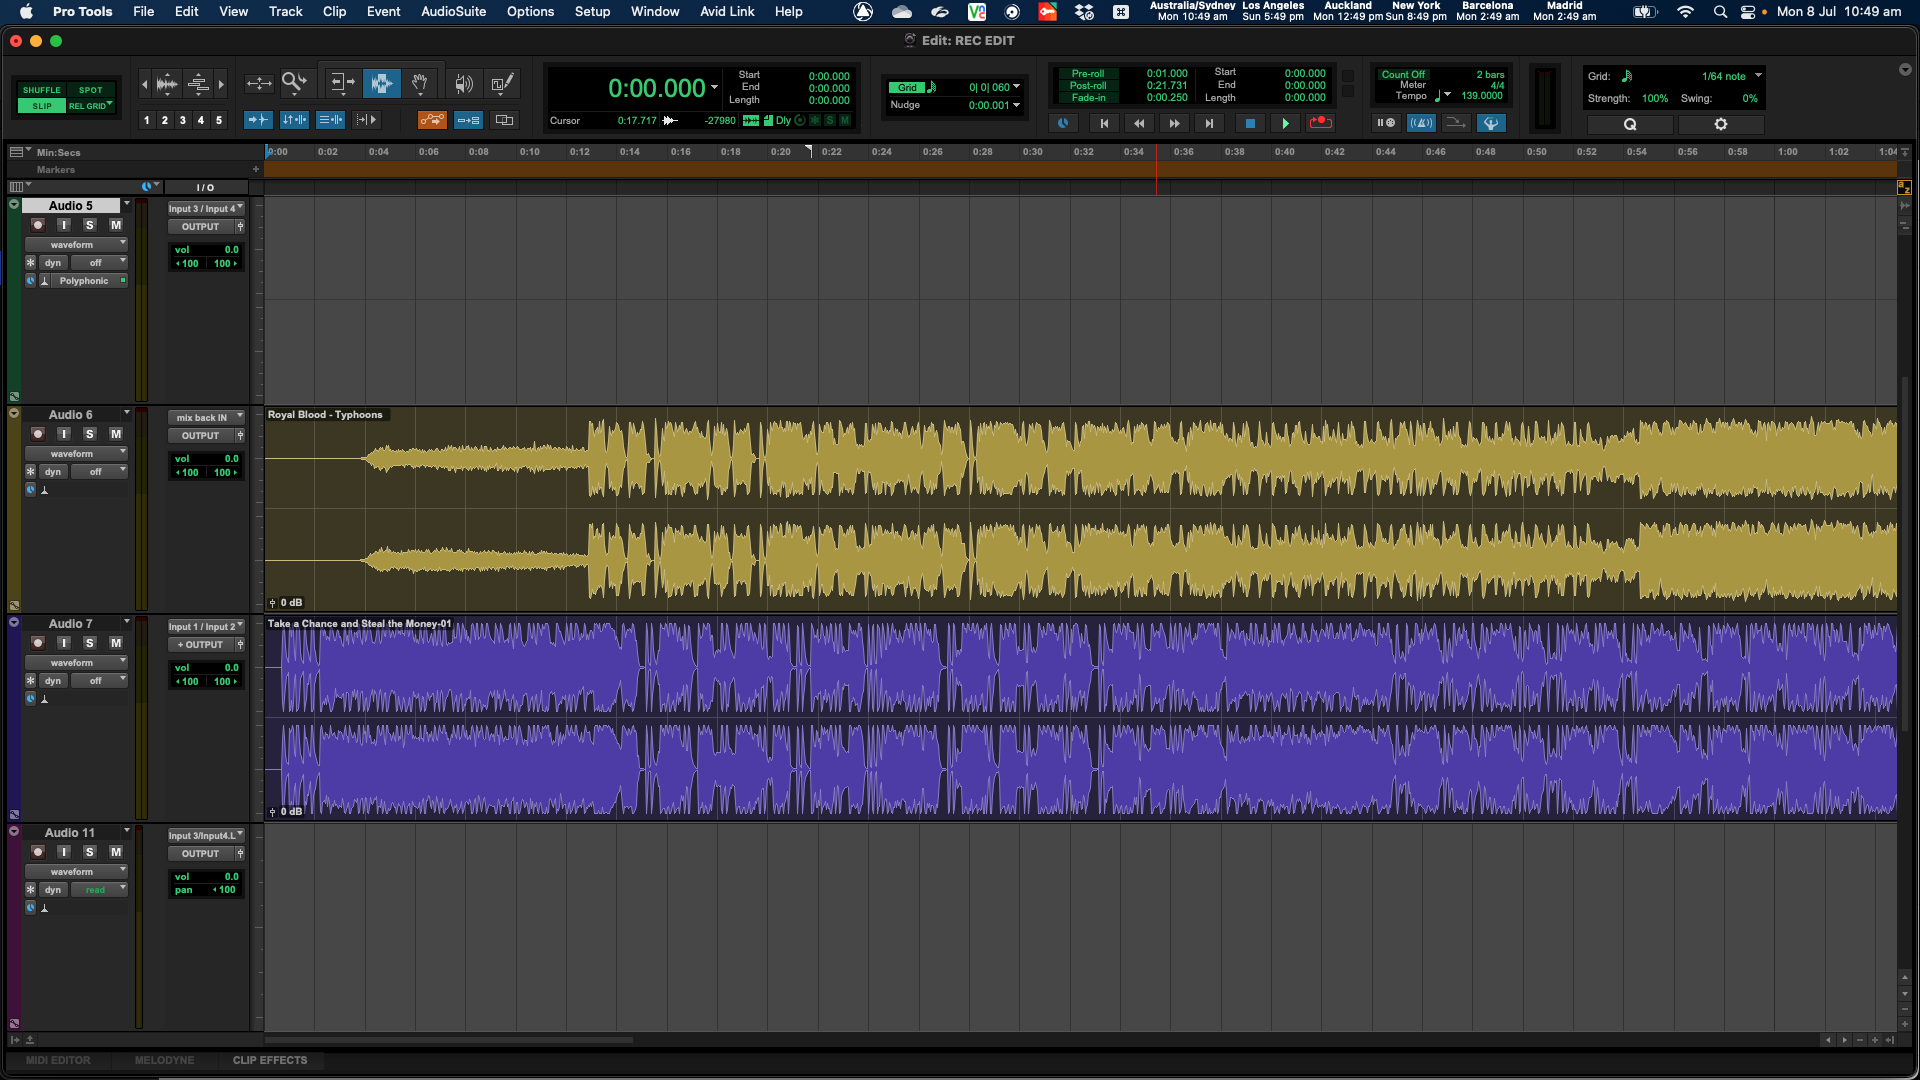
Pro Tools: The industry standard for professional audio editing, Pro Tools gives you ultimate control over your audio. It includes advanced features like cloud collaboration. When you’re ready to step up, this one is for podcasters with some technical expertise.
Hindenburg Journalist: Specifically designed for radio and podcast production, Hindenburg Journalist focuses on storytelling. It automates levels and is very user-friendly, making it easier for creators to focus on content rather than technical details.
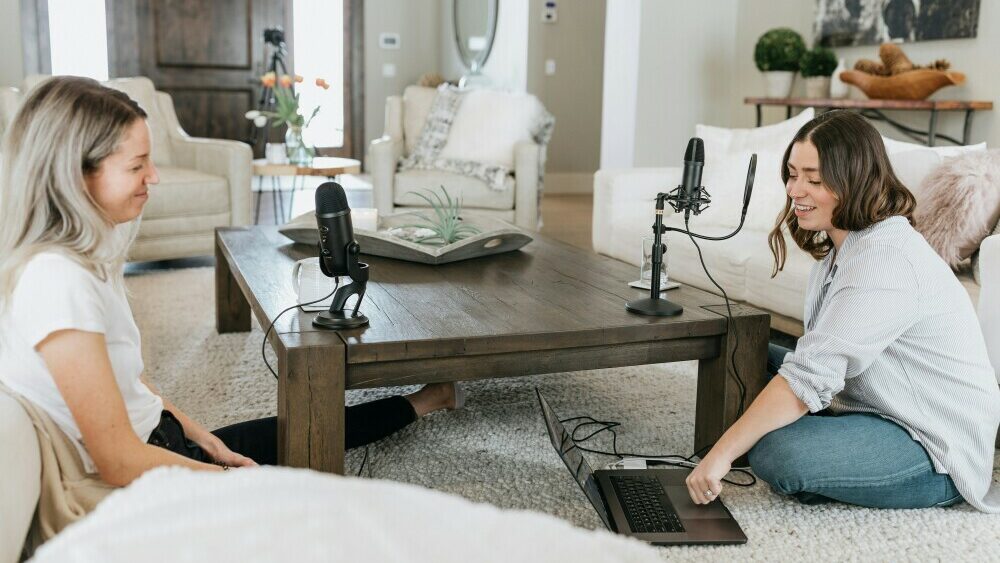 Where Are You Gonna Record?
Where you record will be a massive factor the final audio quality of your podcast. Even with the best microphone and editing software, recording in the wrong space could lead to dodgy sound, unless that’s you’re aim and you’re recording out and about in the real world.
Soundproofing plays a crucial role in this and doesn’t have to break the bank. Simple adjustments like hanging heavy curtains, using carpets, or placing acoustic panels can drastically reduce echo and unwanted noise.
When it comes to recording, silence is your best friend. It’s important to find a space that’s naturally quiet or at a time when ambient noise is at a minimum – you might need to turn off the air-conditioner or dishwasher while recording for example.
Where you record and the sounds in the space are as much a part of your podcast as you are. Listeners may not see where you’re recording, but they can definitely hear it. So, spending time getting the environment right is an investment in your podcast’s quality.
Finally, always remember to test your setup before starting. Record some audio samples and listen back to them. Adjust your environment and equipment placements until the sound is just how you want. It’s much easier to get it right first than try and fix it in post.
