When it comes to audio production and music, it’s often about making your stuff stand out and cut through with impact. But how to you create impact sounds? One way to do that is to punctuate your work with hard hitting impact sounds. In post production, it might mean adding an ear bleeding noise or hit to the start of a promo. In music, you might just want to add some punch to your beats. But how do you create those epic sounds they use in movie trailers and dubstep?
How to Create Impact Sounds?
This is where the magic of sound design comes into play. Crafting these powerful impact sounds is more than just recording a loud noise; it requires a keen ear, creative vision, and a bit of technical wizardry. It involves understanding the elements that make up an impactful sound – from the initial transient to the resonating tail – and knowing how to manipulate these elements to create something that sounds massive but is also useful.
Let’s dive into the technical stuff and talk about a few creative angles you can use to turn that thud into a boom. There are lots of things to think about. From choosing the right foundational sounds (be it real-world recordings or synthesised tones) to the techniques of layering, EQing, and adding effects. It all comes together to make the sound hit hard.
Layering Sounds
Creating a hard-hitting impact sound is like building a sandwich; it’s all about layering different ingredients. The choice of sounds you layer will determine the character and intensity of the final product. There is no right or wrong, but here’s a starting point for selecting elements:
Start With a Strong Foundation
Low-End Power: The foundation needs to be a strong, resonant low-end element. This could be the deep boom of a bass drum, the rumble of an explosion, a door slamming, or even a synthesised sub-bass tone. It’s essential to start here because this layer sets the tone for the entire sandwich, uh sound, providing the meaty weight and bottom end. A solid low-end punch anchors the impact and gives it a physical presence that can be felt as well as heard.
Add Body and Texture
Mid-Range Elements: After establishing the low end, the next step is to add complexity and richness to the sound. This is achieved by combining mid-range elements that add texture and depth. These could be organic sounds like the crack of wood or the ring of a bell, or more industrial tones like the clang of metal or kicking your toe on an anvil. The key here is to select sounds that have a distinct character and can fill the sonic space between the deep lows and the high frequencies. These sounds are what give your impact its unique tone and feel.
Incorporate High-End Detail
Sharp, High-Frequency Sounds: To complete the spectrum, you’re gonna need to find some great high-frequency elements to add some sparkle. They provide clarity and definition to your impact sound. This could be the crisp snap of a branch, the bright crash of a cymbal, or even the subtle hiss of white noise. High-end details are crucial for ensuring that your impact cuts through any mix. These high frequency elements will add a sense of sharpness, so the mix will be more than just a thud, but also really pop and cut through.
Consider the Context
Environment and Mood: The sounds you choose should be influenced by the specific setting or mood you aim to evoke. For example, if you’re creating an impact for a scene set in a forest, you might include natural elements like rustling leaves or breaking branches. For a more urban or industrial feel, the sound of metal or concrete might be more appropriate. This contextual consideration ensures that your impact sound is not only powerful but also fitting for its intended use, enhancing the overall storytelling.
Experiment with Unconventional Sounds
Unique and Unusual Choices: You can get as creative as you like. By experimenting with unconventional sounds, you can add an element of surprise or originality to your impact. This could be anything from the resonating twang of a large spring to the digital glitch of a computer beeping. These weirder sounds will also add more flavour to the the sound.

Once you’ve selected all the sounds for your sonic sandwich, the next thing to do it think about how you are going to layer and process them to make them all work together. It’s important to remember that each layer should not only add its unique character but also harmonise with the others to create a sound that’s powerful and feels like it’s one thing and not just a mash of random sounds making a muddy mess.
Example Mix – Creating a Random Impact
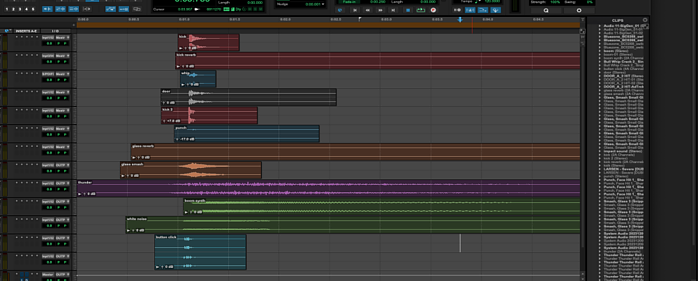
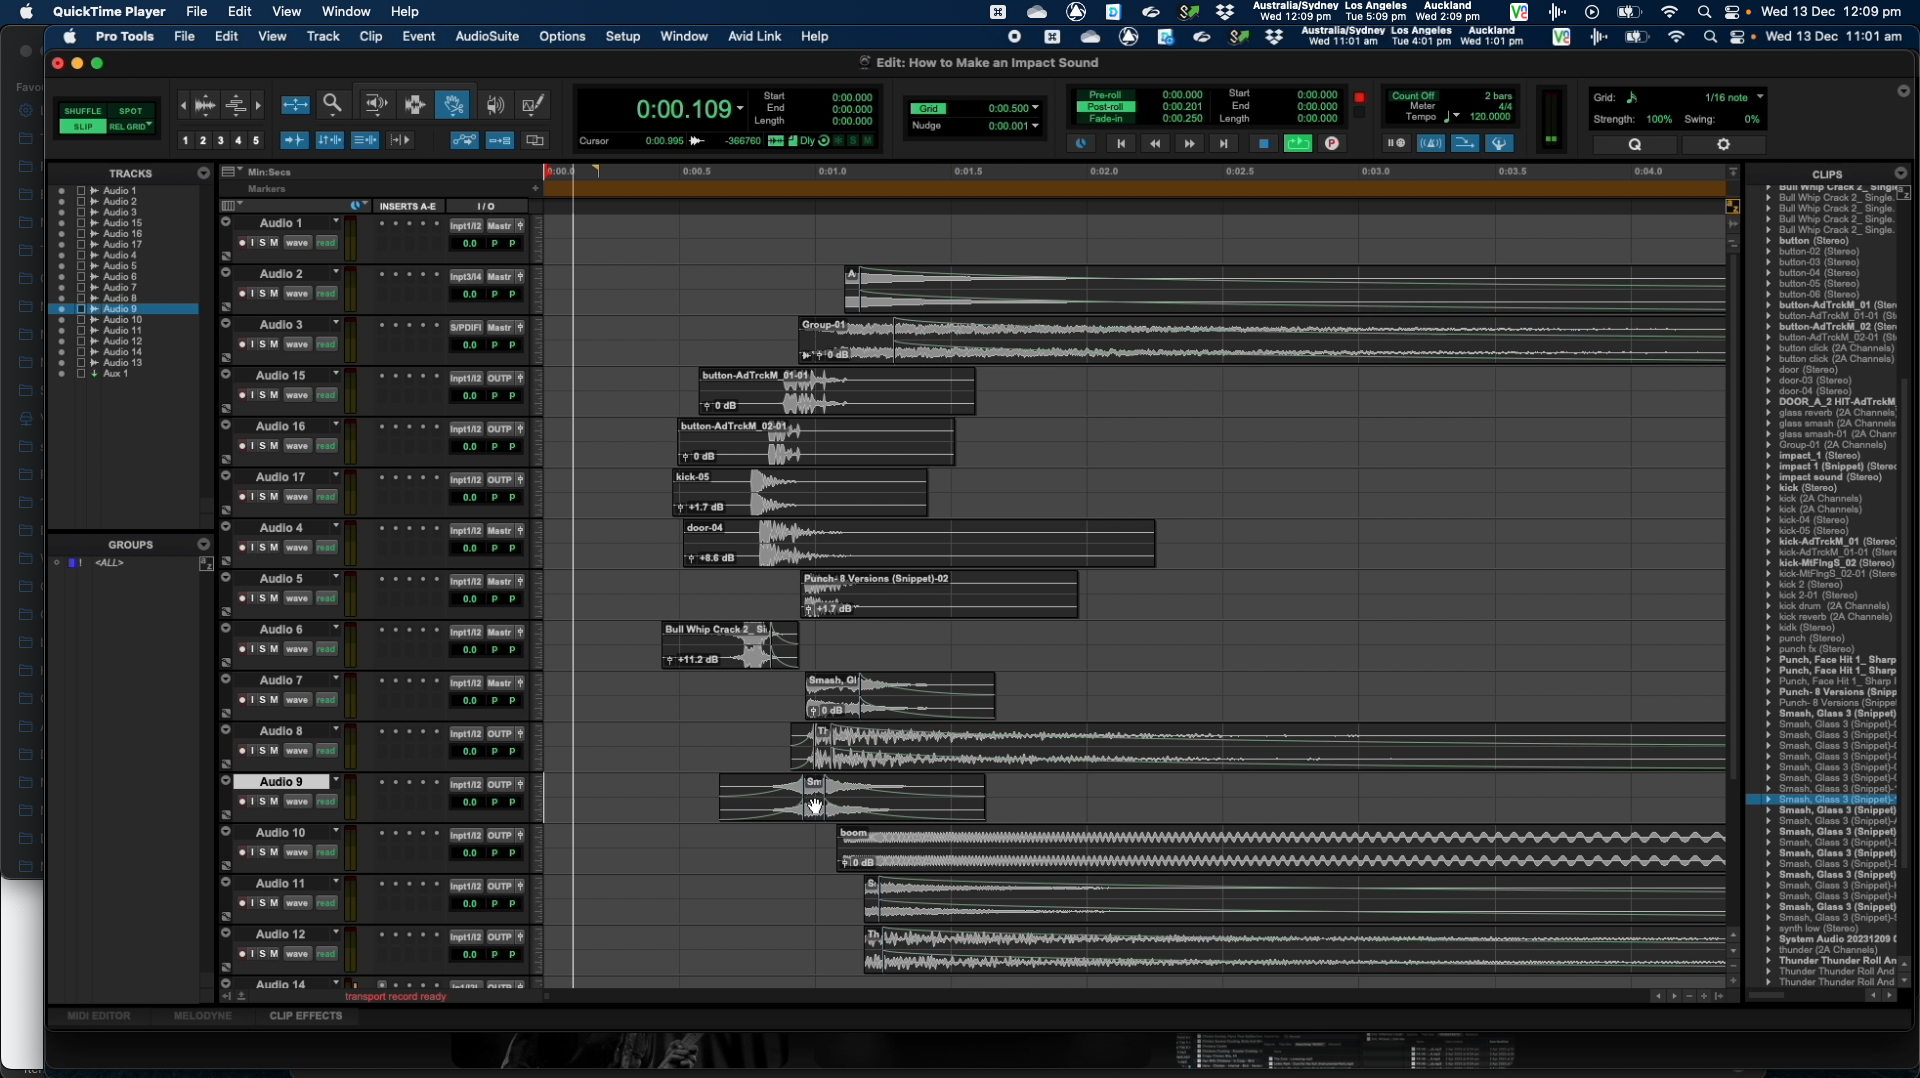
So first thing is to choose some sounds that you’ll use in a mix, layering them all on top of each other to bake a delicious impact sandwich. Here’s an example:
Ingredient Sounds:
- Punchy Kick Drum: Brings a solid rhythmic foundation.
- Synth Bass Tone: Provides the foundational low-end depth.
- Door Slamming: Adds natural resonance and mid-range body.
- Glass Breaking: Contributes high-end texture and crispness.
- Whip Crack: Delivers a sharp, high-frequency snap.
- Thunder Roll: Offers atmospheric depth and a cinematic feel.
- White Noise: Adds overall texture and a layer of airy, high-frequency detail.
Just in case your Mum walks into the room and asks what all these weird sounds are, here’s an explanation of what’s going on and why each element has been chosen.
The punchy initial hit will be the Punchy Kick Drum. It’s gonna give us a deep, punchy character that kicks off the sound. It’s snappy transient and weighty thud will both add to the mix.
The deep low end is going to be a Synth Bass Tone. This is going to give a deep and resonant low-end, and if pitched down will also add a touch of movement. This deep tone will make the sound felt as well as heard and give it a bash tail out.
The addition of a Door Slamming sound adds a bit of mid-range body and also has a good sharp transient followed by a quickly decaying resonance. The door slamming, with its wooden sound, fills the frequency-gap between the deep lows of the synth bass and the higher frequencies.
For the high-end texture, the crisp and sharp sound, let’s get some Glass Breaking. Go an grab one from the dishwasher now. This is going to bring some contrast and brightness to the impact. The glass shattering adds a layer of high-frequency detail and sharpness.
Next up in our random kilohertz kebab is the Whip Crack. This element is meant to provide a distinct high-frequency snap, adding another high-end element that cuts through the mix. Whips also have a cool swoosh effect before the crack that could add a little movement into the hit.
The Thunder Roll is going to give some atmospheric depth and a cinematic feel. The low, rumbling sound of thunder adds an expansive quality making it sound bigger. Fingers crossed this will make the sound feel larger-than-life. The low and rumbling can also trail out giving the sound a nice rumbling tail.
The White Noise is a high-frequency, airy quality. We’ll kick off the white noise with a sharp transient and then fade it out in time with the other elements so it blends in.

Processing the Sonic Sandwich
Punchy Kick Drum (The Sonic Foundation)
EQ Shaping: Use EQ to enhance the low-end punch of the kick drum without losing the mid and high frequencies. Boost the main frequency and use a high-pass filter to remove sub-bass rumble.
Compression: Apply compression to tighten the kick drum sound and enhance its punch.
Synth Bass Tone (The Hearty Bread)
Equalisation (EQ): Apply a low-pass filter to emphasize the deep, rumbling frequencies, ensuring that the bass doesn’t cross over into the mid and high-range frequencies.
Compression: Use a little compression to add sustain and presence, making the bass tone big and consistent. This will make hold it up in the mix so it stands out.
Door Slamming (The Crunchy Lettuce)
EQ: Boost the mid-range frequencies and cut some low-end to prevent muddiness.
Reverb: Add some reverb to give a sense of space.
Glass Breaking (The Spicy Mustard)
High-Pass Filter: Use a high-pass filter to eliminate any low-frequency rumble.
Stereo Widening: Widen the stereo image of the glass breaking.

Whip Crack (The Gourmet Cheese)
EQ: Fine-tune the high frequencies to highlight the whip crack’s snap.
Stereo Placement: Carefully place the whip crack in the stereo field to ensure it complements the other elements, adding to the overall impact without dominating it.
Thunder Roll (The Olive Oil Drizzle)
Low-Pass Filter: Use a low-pass filter to focus on the low, rumbling of the thunder.
Reverb: Add a spacious reverb to the thunder roll to enhance its expansive, cinematic feel.
Compression: Lightly compress the thunder, to bring it into the foreground and fatten it up.
White Noise (The Airy Essence)
EQ Shaping: Shape the sound to make it sound less synth and more real to blend in.
Fade Out: Time the fade out so it blends in with the rest of the elements.
Reverb: Apply subtle reverb to add spatial depth and also a nice tail out.
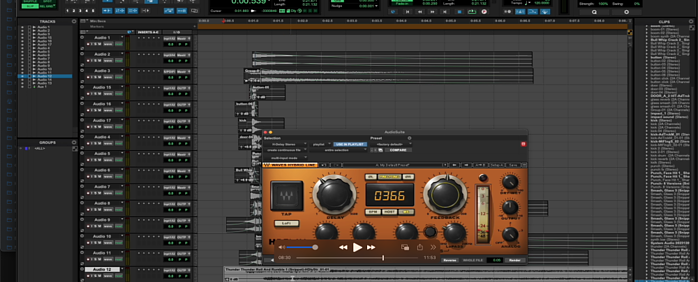
Delay for Stereo Widening: add some stereo width and a longer tail out using a delay.
Final Mix
Volume Balancing: Carefully balance the volumes of each element, ensuring they blend well without any single sound overpowering the others.
Panning and Spatial Effects: add some extra panning and reverb – maybe filter the reverb.
Mastering EQ and Compression: add a final EQ and compression to glue the elements together.

in a nutshell …
So there you go. Making an epic impact sound for audio production is exactly like building the ultimate sandwich. Each layer, from the deep bass tone to the crackling whip, adds its unique flavour, creating a symphony of sounds that’s more satisfying than a piece of bread with nothing on it. It’s much more than just throwing together a bunch of sounds. It demands an understanding of how these elements blend, just like those pimply kids at Subway.
Bon appétit!


