Ever spent hours working on a mix, only to feel like something’s missing? You might be crafting a musical masterpiece, but if the EQ (Equalization) isn’t spot-on, your mix can end up sounding muddy, harsh, or flat. Learning how to EQ audio correctly can truly save your mix, transforming it from a chaotic mess into a harmonious blend of sounds. Let’s dive into why EQ is so crucial and how you can master it to elevate your tracks.
Introduction: The Blueprint for a Perfect Mix
In this blog post, you’ll learn how to EQ audio correctly, ensuring each element of your mix shines without overpowering the others. We’ll explore the fundamentals of EQ, common pitfalls, and pro tips to help you avoid those rookie mistakes. Understanding how to EQ audio is essential for anyone serious about producing high-quality music.
Understanding the EQ Spectrum: The Backbone of Your Mix
Ever wonder why some mixes sound crystal clear while others are a chaotic jumble of noise? It all boils down to understanding the EQ spectrum. Knowing how to EQ audio involves understanding the different frequency ranges and their impact on your mix.
Breaking Down the Spectrum:
- Sub-bass (20-60 Hz): The deep rumble you feel more than hear.
- Bass (60-250 Hz): Adds warmth and fullness.
- Low Mids (250-500 Hz): Can make your mix muddy if not controlled.
- Mids (500 Hz-2 kHz): Where most instruments and vocals sit.
- Upper Mids (2-4 kHz): Clarity and presence.
- Highs (4-6 kHz): Adds brightness.
- Air (6-20 kHz): The sizzle and sparkle on top.
Understanding these ranges helps you identify which elements occupy which frequencies, ensuring they don’t clash. This is a fundamental step in learning how to EQ audio effectively.
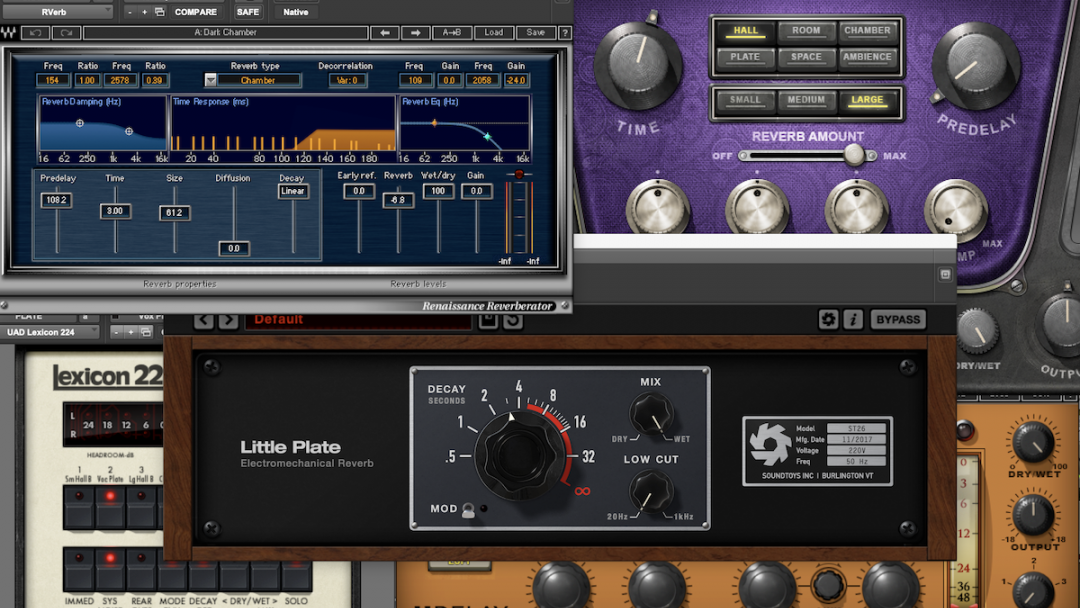
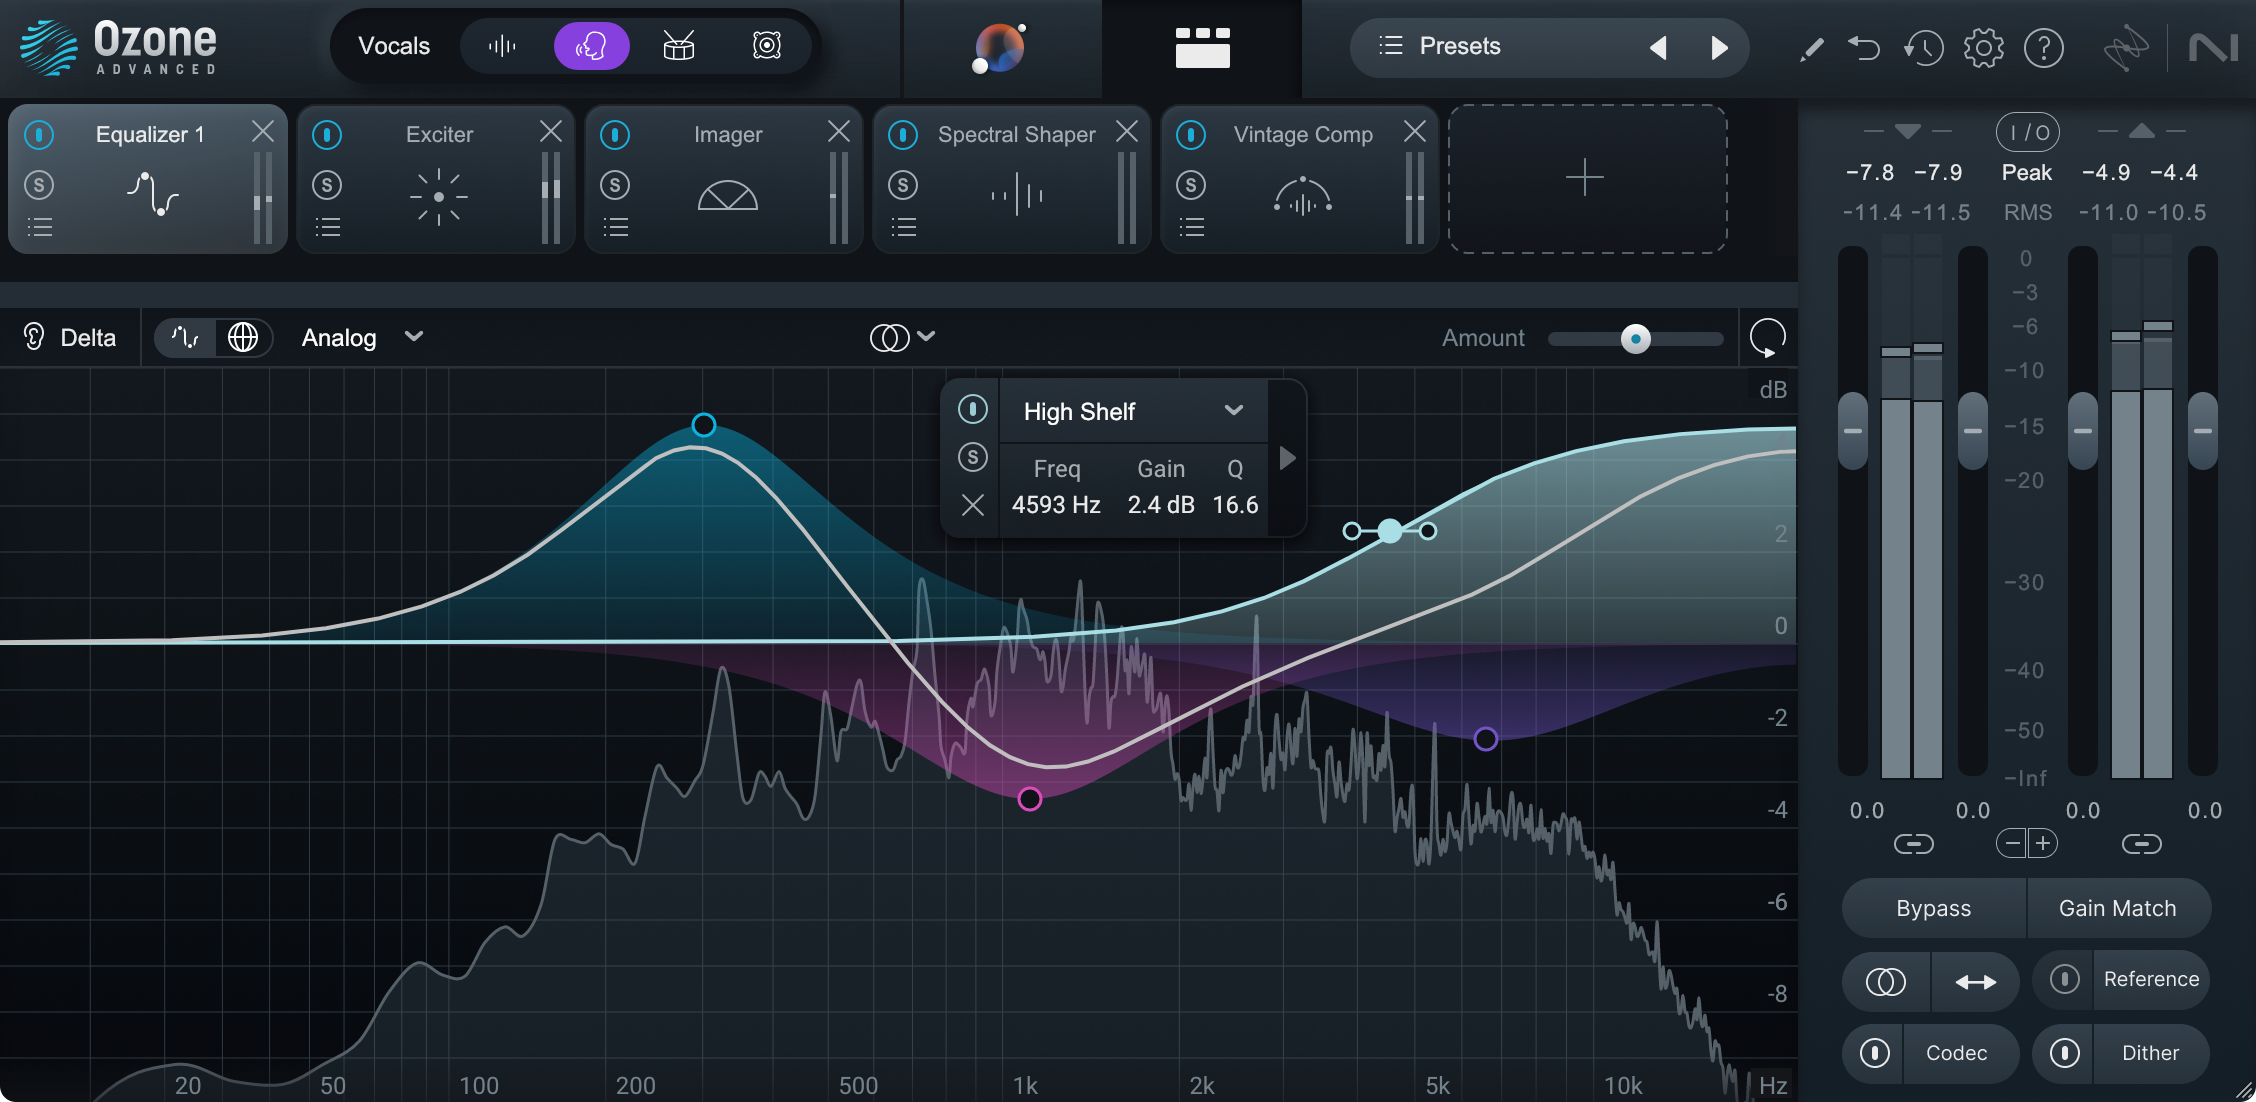
Pro Tip: Use a spectrum analyzer to visualize these frequencies.

The Art of Subtractive EQ: Less is More
One common mistake in mixing is trying to boost frequencies to make things stand out. Subtractive EQ can often yield better results. Instead of adding, try cutting unnecessary frequencies. This is a key concept in how to EQ audio effectively.
Why Subtractive EQ Works:
- Reduces Mud: Cutting low mids can clear up a muddy mix.
- Eliminates Harshness: Reducing certain high frequencies can smooth out a harsh mix.
- Creates Space: Cutting frequencies in one instrument makes room for others.
Example: If your vocals are clashing with the guitars, cut some frequencies in the guitar track to make space for the vocals instead of boosting the vocals. This is a practical application of how to EQ audio.
Pro Tip: Start with gentle cuts (around 3 dB) and sweep through the frequencies to find the problematic areas. This technique is fundamental in learning how to EQ audio.
Using High-Pass and Low-Pass Filters: Clean Up Your Mix
High-pass and low-pass filters are essential for cleaning up a mix. A high-pass filter removes low frequencies, while a low-pass filter removes high frequencies. Knowing how to EQ audio involves mastering these filters.
High-Pass Filter:
- Application: Use it on every track except kick drum and bass to eliminate rumble and unnecessary low-end.
- Result: A cleaner, tighter mix.
To apply a high-pass filter, set the filter frequency to around 20-30 Hz on instruments like the kick drum and bass, and higher (around 80-100 Hz) on other instruments like guitars, vocals, and synths. Adjust the frequency while listening to ensure you remove unwanted lows without thinning out the sound too much. This is a basic step in how to EQ audio.
Low-Pass Filter:
- Application: Use it on tracks with unnecessary high frequencies to reduce hiss and digital noise.
- Result: A smoother, more polished mix.
To apply a low-pass filter, set the filter frequency around 10-15 kHz for most instruments, and lower (around 6-8 kHz) for elements that need to sound darker or more distant. Adjust the filter until the high-frequency noise is reduced without losing the desired brightness. This technique is essential in how to EQ audio.
Pro Tip: Be cautious with the filter settings. Cutting too much can make a track sound thin, while too little might leave unwanted noise. Mastering this balance is part of learning how to EQ audio.

EQing Instruments Individually: Tailoring the Perfect Sound
Each instrument has its own unique frequency range that contributes to the mix. EQing each instrument individually ensures they all have their own space to shine. Understanding how to EQ audio for each instrument is crucial.
Key Instruments:
- Kick Drum: Boost around 60-100 Hz for thump, cut around 200-400 Hz to reduce boxiness.
- Snare Drum: Boost around 1-2 kHz for snap, cut around 500 Hz for clarity.
- Bass: Boost around 60-100 Hz for depth, cut around 250 Hz to avoid muddiness.
- Vocals: Boost around 1-3 kHz for presence, cut around 300-500 Hz to reduce muddiness.
- Guitars: Boost around 3-5 kHz for clarity, cut around 200-300 Hz to avoid clutter.
Pro Tip: Always EQ in the context of the mix. Soloing an instrument might sound great, but it’s how it fits into the whole mix that matters. This is a key consideration in how to EQ audio.
Avoiding the EQ Pitfalls: Common Mistakes to Dodge
Even seasoned pros can fall into common EQ traps. Here’s what to watch out for:
Over-EQing:
- Symptom: The mix sounds unnatural and overly processed.
- Solution: Use EQ sparingly. Sometimes, less is more. This principle is essential in how to EQ audio effectively.
Ignoring Phase Issues:
- Symptom: The mix sounds hollow or loses impact.
- Solution: Be aware of phase cancellation, especially when EQing tracks that share similar frequencies. Understanding phase issues is a part of how to EQ audio properly.
Too Much Boosting:
- Symptom: The mix becomes harsh and fatiguing.
- Solution: Focus on subtractive EQ and use boosts sparingly. This is a core concept in how to EQ audio.
Pro Tip: Take breaks during mixing. Fresh ears can help you catch mistakes that fatigued ears might miss. This advice is crucial when learning how to EQ audio.

Using Reference Tracks: Your North Star for EQ
Reference tracks are professionally mixed songs in the same genre as your track. They serve as a benchmark for your mix, helping you stay on course. Using reference tracks is a valuable technique in how to EQ audio.
How to Use Reference Tracks:
- Match Tonal Balance: Compare the frequency balance of your mix to the reference track.
- Identify Issues: Spot differences that might indicate problems in your mix.
- Adjust Accordingly: Use EQ to match the tonal quality of the reference track.
Pro Tip: Don’t just listen – use a spectrum analyzer to compare the frequency content visually. This tool is essential in how to EQ audio effectively.
Relying on Your Ears and Trusted Tools: The Final Touches
In the end, your ears are the ultimate judge. Use trusted tools, but always rely on your listening skills to make final adjustments. This is a fundamental part of how to EQ audio.
Tools to Consider:
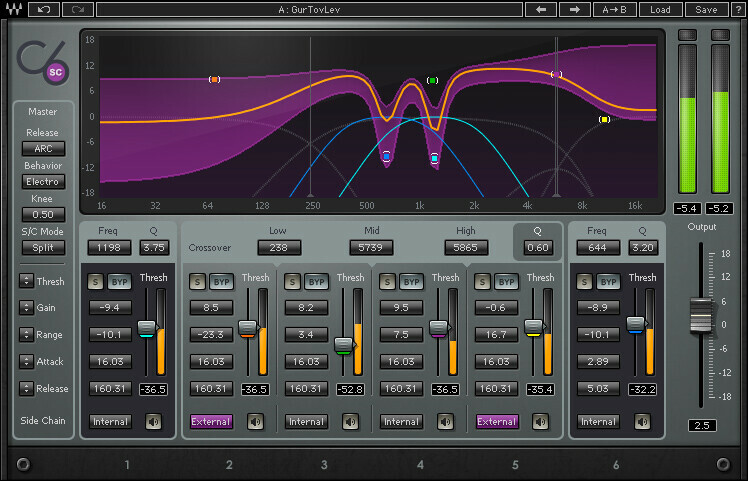
- Spectrum Analyzers: Visualize the frequency content.
- EQ Plugins: Many come with built-in analyzers and presets to get you started.
- Room Calibration Software: Ensures your listening environment is accurate.
Pro Tip: Listen to your mix on different systems – studio monitors, headphones, car speakers, etc. This helps ensure your mix translates well across all playback systems. This practice is vital in how to EQ audio effectively.
EQing Different Genres: Tailoring Your Mix to the Style
Different music genres have unique characteristics that influence how you should approach EQ. Understanding these subtleties can help you tailor your mix to fit the style perfectly. This knowledge is crucial in how to EQ audio for different genres.
Electronic Music:
Electronic tracks often rely heavily on deep bass and crisp highs. Focus on ensuring the sub-bass is powerful yet controlled. High-pass filters are crucial to clear out any rumble from non-bass elements. Additionally, boosting the highs around 10-15 kHz can add the desired sparkle and airiness.
Example: In electronic dance music (EDM), the kick drum and bass synth must coexist without clashing. Use a high-pass filter on the bass synth and a low-pass filter on the kick to carve out their spaces. This is an application of how to EQ audio for electronic music.
Rock Music:
Rock mixes are typically dense with guitars, bass, and drums fighting for space. Midrange clarity is crucial. Cutting some low mids from guitars can help the bass and drums punch through more effectively.
Example: For rock vocals, a gentle boost around 3 kHz can help them cut through the dense mix, while a cut around 200-300 Hz can reduce muddiness. This technique is part of how to EQ audio for rock music.
Pro Tip: Use reference tracks within the same genre to ensure your mix meets the expected sonic standards. This is a practical step in how to EQ audio for various genres.

Advanced EQ Techniques: Dynamic EQ and Mid/Side EQ
As you become more comfortable with basic EQ, exploring advanced techniques can further refine your mix. Mastering these techniques is part of how to EQ audio like a pro.
Dynamic EQ:
Dynamic EQ combines traditional EQ with compression, allowing you to target frequencies that only activate when needed. This is particularly useful for taming problematic frequencies that occur intermittently.
Example: If a vocal track has occasional harsh sibilance, a dynamic EQ can reduce these frequencies only when they become too prominent, without dulling the entire track.
To achieve this, set the dynamic EQ to target the harsh frequency (typically around 5-8 kHz), and set the threshold to activate only when the sibilance occurs. Adjust the reduction amount until the harshness is controlled without affecting the overall vocal sound. This is an advanced step in how to EQ audio.
Mid/Side EQ:
Mid/Side EQ allows you to process the center (mid) and sides (stereo) of your mix separately. This technique is powerful for enhancing stereo width and clarity.
Example: For a wider stereo image, boost the highs on the side channels while keeping the mids clean and focused. Conversely, if the mix sounds too wide and lacks focus, cutting some low mids on the side channels can help.
To apply mid/side EQ, use an EQ plugin that supports mid/side processing. Adjust the side EQ to enhance or reduce frequencies as needed, and balance the mid EQ to ensure the core elements of the mix remain clear and focused. This technique is part of how to EQ audio with advanced methods.
Pro Tip: Experiment with dynamic and mid/side EQ to solve complex mixing problems that static EQ alone can’t fix. This experimentation is key to mastering how to EQ audio.

Practical EQ Tips from Industry Pros
Learning from the best can provide invaluable insights into mastering EQ. Here are some tips from renowned audio engineers on how to EQ audio effectively:
Andrew Scheps:
Andrew Scheps, known for his work with Adele and Red Hot Chili Peppers, says, “Don’t be afraid to cut. Boosting is easy, but cutting is where the magic happens. It’s all about making space for each element.”
Tip: Start with broad cuts to remove unnecessary frequencies, then fine-tune with narrower cuts to address specific issues. This approach is central to how to EQ audio like a pro.
Chris Lord-Alge:
Chris Lord-Alge, who has mixed for Green Day and Muse, advises, “Use broad EQ strokes for character and narrow cuts for problem-solving. It’s about shaping the sound, not just fixing issues.”
Tip: Use wide Q settings for boosting frequencies to shape the overall tonal balance, and narrow Q settings for cutting problematic frequencies without affecting the surrounding spectrum. This is a core technique in how to EQ audio.
Manny Marroquin:
Manny Marroquin, who has worked with Kanye West and Alicia Keys, emphasizes, “Trust your instincts and your ears. Tools are great, but ultimately, it’s how it sounds that matters.”
Tip: Continuously train your ears by listening to a wide variety of music and analyzing the EQ choices made in different mixes. This practice is essential in learning how to EQ audio.
In a Nutshell 🥜
Mastering how to EQ audio takes practice, patience, and persistence. But once you get the hang of it, your mixes will thank you. You’ll go from struggling with muddiness and harshness to creating clear, professional-sounding tracks that stand out.
Remember, EQ is both an art and a science. Use your ears, trust your instincts, and don’t be afraid to experiment. As the legendary audio engineer Bob Katz once said, “The secret to EQ is not to hear it.” When you get it right, everything just falls into place.
So, next time you’re stuck in the mix, don’t panic. Reach for the EQ and start tweaking. You might just save your mix – and discover the sound you’ve been searching for. With these tips and techniques, you’re well on your way to becoming an EQ master. Keep experimenting, keep learning, and most importantly, keep mixing. Your perfect mix is just an EQ adjustment away!