
Achieving a professional radio ready mix is the holy grail for music producers, whether you’re working on the latest EDM track, a powerful rock anthem, or a catchy pop tune. The journey from a rough demo to a polished, radio-ready track involves a combination of technical skills, creative decisions, and meticulous attention to detail. In this blog, we’ll explore the essential steps and techniques you need to get that pro-level mix, with a balanced focus on EDM, rock, and pop production.
Achieving a Radio Ready Mix
The Foundation: Preparing Your Tracks
Before diving into the mix, preparation is key. Think of it as setting the stage for a performance. Organize your tracks and clean up the audio to ensure everything is ready for the spotlight.
Start by clearly labeling all your tracks and grouping similar elements, such as drums, guitars, synths, and vocals. This organisation simplifies the mixing process and makes it easier to apply processing to specific groups.
Next, clean up your audio by removing any unwanted noise, clicks, or pops that might have been recorded. These minor imperfections can add up and distract from the overall quality of your mix. Also, check for phase issues, especially with multi-miked sources like drums, to avoid thin or hollow sounds.
Balancing Act: Volume and Panning
Setting the initial volume levels and panning positions is the first step in the actual mixing process. This rough balance helps you understand how all the elements fit together. Volume levels are crucial; you want each element to be heard clearly without overpowering others.
Panning allows you to create a wide, spacious mix. By placing elements in different positions in the stereo field, you can avoid clutter and give each part of your mix room to breathe. Imagine arranging furniture in a room; you don’t want everything crammed into one corner. Similarly, spread your instruments out across the stereo spectrum.
>>> What Is A Multiband Compressor For? >>>
Sculpting Sound: EQ Techniques
Equalization (EQ) is one of the most powerful tools in a mix engineer’s arsenal. It allows you to shape the tonal balance of each element and carve out space for everything to sit together harmoniously.
Start with high-pass filters to remove unnecessary low frequencies from non-bass elements. This helps keep your low end clean and prevents muddiness. For example, cutting the low frequencies on your hi-hats or synth pads can make a significant difference.
Enhance clarity and presence by boosting certain frequencies. For instance, boosting around 3-5 kHz can add presence to vocals and snares, making them stand out. However, be cautious with boosting too much, as it can make your mix sound harsh. The key is to make subtle adjustments that enhance the overall sound without drawing attention to the EQ itself.
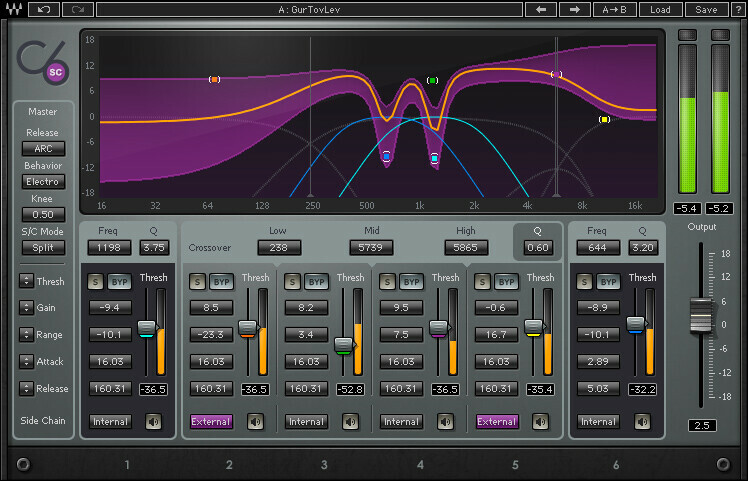
Control and Consistency: Compression
Compression is essential for controlling dynamics and ensuring a consistent level throughout your mix. When used correctly, it can add punch and glue your mix together.
For individual tracks, apply compression to control peaks and maintain a consistent level. For example, a moderate compression ratio (3:1 to 4:1) with a medium attack and fast release can keep your vocals smooth and present.
Parallel compression is a technique where you blend a heavily compressed version of a track with the dry signal. This can add punch and sustain, especially to drums, without losing the natural dynamics of the performance.
Adding Space: Reverb and Delay
Reverb and delay are crucial for adding depth and space to your mix. They can make your mix sound like it’s happening in a real space rather than a sterile studio environment.
Reverb adds a sense of space, but it’s important not to overdo it. A short reverb can add depth without making your mix sound distant. Use pre-delay to separate the initial hit of the sound from the reverb tail, which can help maintain clarity.
Delay can create a sense of width and depth. For vocals, a well-timed delay can add a rhythmic element and make the vocals stand out without overwhelming the mix. Think of how David Gilmour uses delay to create expansive soundscapes in Pink Floyd’s music.
>>> Parallel Compression: How What When Why <<<

Adding Warmth: Saturation and Harmonics
Saturation can add warmth and character to your tracks, giving them a more analog feel. It works by adding subtle distortion that enhances the harmonic content of your audio.
Adding saturation to drums and vocals can make them more present and impactful. For example, adding a touch of tape saturation to your drum bus can give your drums a vintage, punchy sound, reminiscent of classic records.
Width and Depth: Stereo Imaging
Stereo imaging involves placing elements in the stereo field to create a wide and spacious mix. Use stereo widening effects on certain elements to enhance their presence and make your mix sound larger than life.
However, always check your mix in mono to ensure that it remains balanced and that elements don’t disappear. Some club systems and mobile devices play back in mono, so it’s crucial to ensure your mix sounds good in all formats.
Dynamic Mix: Automation
Automation is your secret weapon for adding dynamics and movement to your mix. By automating volume, EQ, and effects, you can create interest and keep your listener engaged.
Volume automation is particularly important for maintaining a consistent balance throughout the track. For example, you might automate the volume of the lead synth to rise during the chorus, adding energy and excitement.
Effect automation can add interest and movement. For instance, automating a filter sweep on a synth can create a sense of build-up and release, essential for genres like rock and pop. Think of how Trent Reznor uses automation to create dynamic shifts in Nine Inch Nails’ music.
The Final Test: Reference Checking
One of the most important steps in mixing is reference checking. Comparing your mix to professional reference tracks ensures it matches the desired quality and balance.
Listen to your mix on different playback systems, including studio monitors, headphones, car stereos, and consumer speakers. Each system will reveal different aspects of your mix. For instance, car stereos often emphasize bass, so if your mix sounds muddy in the car, you might need to clean up the low end.
Reference tracks from your favorite producers can also be incredibly helpful. Analyze how they balance their mixes, how the vocals sit, and how the low end is managed. Producers like Butch Vig, known for his work with Nirvana and Foo Fighters, create clear, punchy mixes that translate well across different playback systems.
Final Touches: Polishing Your Mix
As you approach the final stages, it’s time for some final touches. Check the low end to ensure it’s tight and well-controlled. Make sure the high frequencies are clear but not harsh.
Re-check the overall balance of the mix to ensure all elements are sitting well together. This is where fresh ears can be incredibly valuable. Take breaks and return to your mix with a fresh perspective. Listen to it the next day or get feedback from trusted ears to identify any issues you might have missed.
>>> Sound Design Goes Down The AI Wormhole <<<

In a Nutshell
Mixing is both an art and a science, requiring a blend of technical skills and creative intuition. By preparing your tracks meticulously, balancing levels and panning, using EQ and compression effectively, adding reverb and delay for space, and checking your mix on multiple systems, you can achieve a professional mix that stands up to the best in the industry.
Remember to take your time, trust your ears, and don’t be afraid to experiment. Every great producer, from Rick Rubin to Max Martin, started somewhere, and with persistence and practice, you can reach your mixing goals.