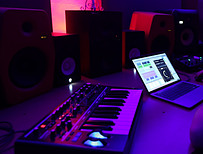
It’s now easier than ever for musos, audio geeks, podcasters, and content creators to set up a home recording studio. Why spend money on expensive outboard gear, when you can do everything within the box on a laptop. While the tools and equipment have become more affordable and user-friendly, there are still many common mistakes people make when taking off on this journey.
Acoustic Treatment 📢
 One of the most common and critical mistakes when setting up a home recording studio is neglecting acoustic treatment. Many beginners focus on purchasing expensive microphones and high-end gear but forget the importance of acoustic treatment. Without proper acoustic treatment, your recordings may suffer from unwanted reflections, echoes, and a poor sound environment. To address this issue, consider investing in bass traps, diffusers, and absorbers to control sound reflections and improve your recording space’s acoustics.
However, it’s crucial to highlight that effective acoustic treatment doesn’t always require a significant financial investment. You don’t have to spend heaps to get started. In fact, there are budget-friendly options that can make a noticeable difference in your recording quality. For instance, strategically placing thick curtains or blankets on walls can help dampen sound reflections and reduce echo. These can be particularly effective in home studios, where a complete acoustic overhaul may not be feasible.
In some cases, getting creative can yield impressive results without breaking the bank. If you’re recording vocals or voice overs with no budget at all, consider using a simple but effective technique: recording with a doona over your head ha ha.
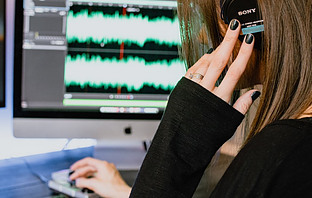
Another valuable technique to reduce unwanted room noise in your home recording studio is the strategic use of audio plugins, such as noise gates. Noise gates are handy tools that help control background noise and minimize the impact of any residual room noise that may have seeped into your recordings.
When using a noise gate, you can set a specific threshold level below which the gate will close, effectively muting any audio signal that falls beneath this threshold. This can be particularly useful when recording vocals or instruments in a less-than-ideal acoustic environment.
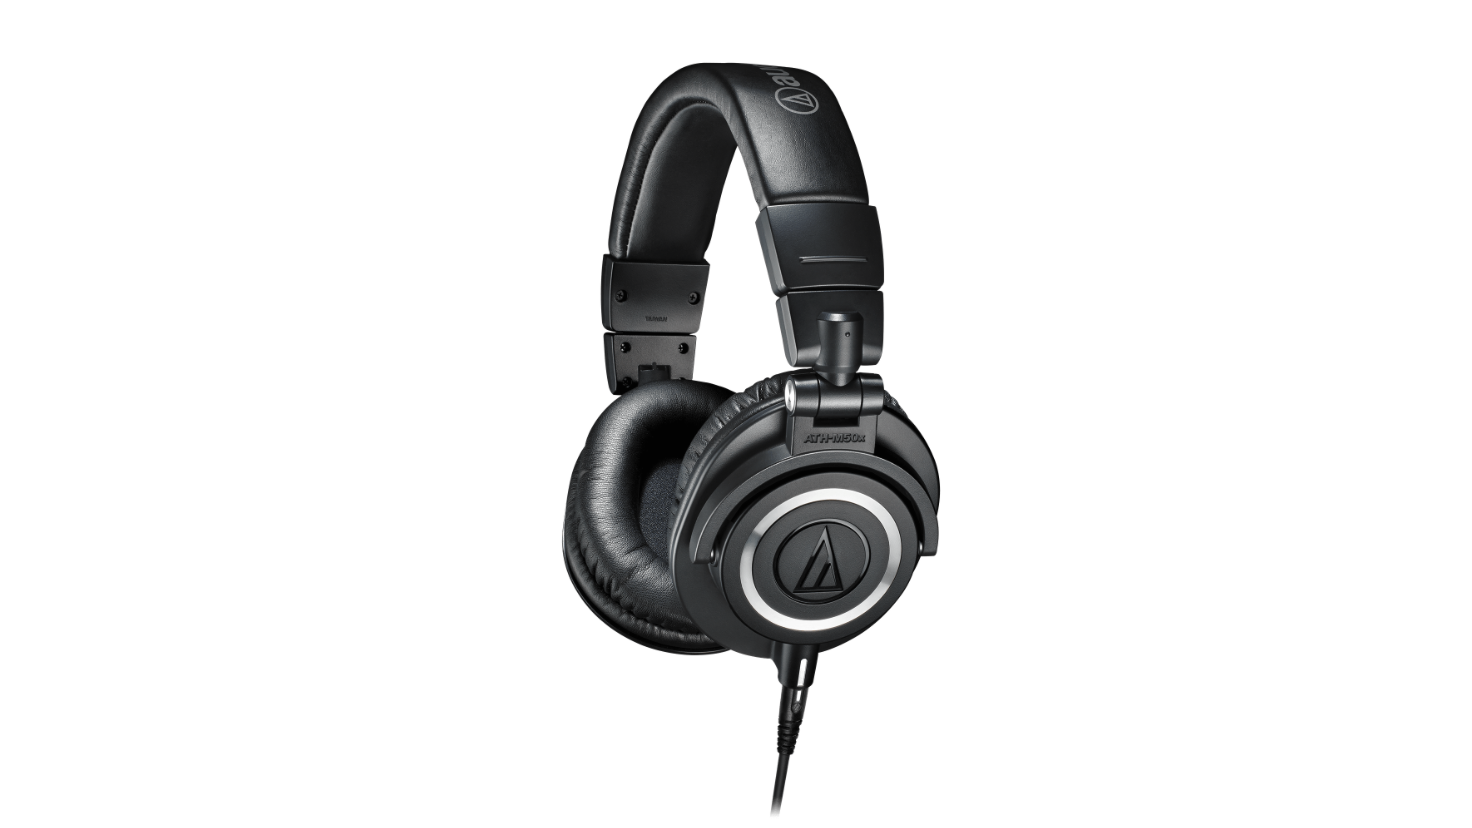
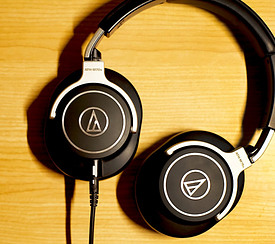
Monitoring 🎧
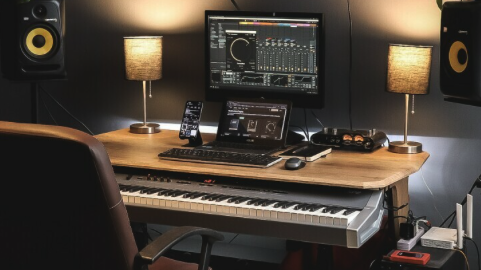
A common mistake is investing heavily in recording equipment but neglecting proper monitoring. Monitoring, which encompasses both studio monitors and headphones, plays a pivotal role in your recording and mixing process. These tools are your ears in the world of sound, and overlooking their quality can lead to misrepresentations of your recordings, making it challenging producing high-quality work.
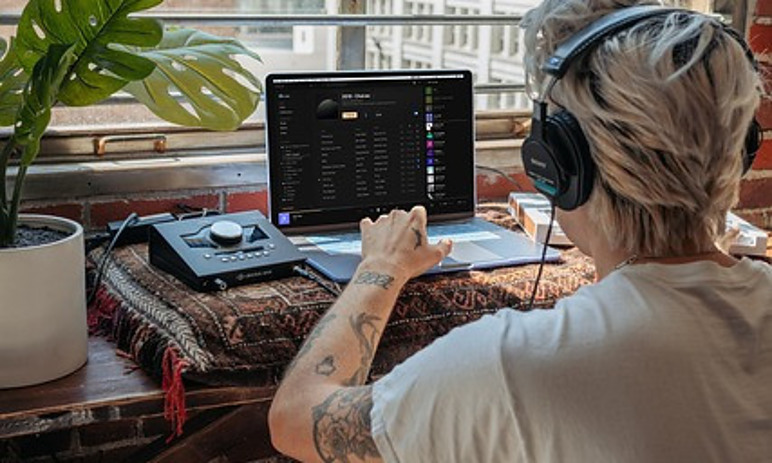
Great headphones, in particular, offer a unique advantage in the world of home recording. They provide you with a level of mobility and remote working flexibility that is hard to achieve with traditional studio monitors. With top-notch headphones, you can take your creative endeavors on the road, be it to a park, a coffee shop, or a secluded cabin in the woods. The ability to dive into your work remotely, unrestricted by physical studio space, can be liberating and inspiring.
Nonetheless, it’s important to remember that while headphones offer fantastic portability, they should be complemented by high-quality studio monitors in your primary recording environment. Monitors allow you to assess your mixes in a more spatial and natural way, helping you make informed decisions during the production process. By striking the right balance between headphones and studio monitors, you can harness the best of both worlds and ensure your recordings meet the highest standards, regardless of where you choose to work.
Backup Solutions 💽
Failing to establish a robust backup system is a grave mistake. Your recordings are valuable, and data loss can be devastating. Here are three practical options for setting up a solid backup strategy to ensure the safety of your creative work:
- External Hard Drives: External hard drives are a cost-effective and straightforward solution. They come in various capacities, and you can regularly transfer your project files to them. It’s advisable to use dedicated drives solely for backups and employ software or manual backup procedures to ensure your data is continuously up-to-date.
- Cloud Storage: Cloud storage services like Google Drive, Dropbox, or iCloud offer a convenient and secure way to back up your recordings. These services often have automated backup features, making it easier to keep your work safe. Just remember that you might need to subscribe to larger storage plans if you have extensive audio files.
- Network-Attached Storage (NAS): If you have multiple devices or work with others in a collaborative environment, a NAS solution could be a game-changer. NAS devices provide network-accessible storage that multiple users can access and back up to. They can be configured with redundancy, ensuring that your data is even safer. However, they can be more expensive and complex to set up compared to external hard drives and cloud storage.
Each of these backup options has its advantages and considerations. The choice depends on your specific needs, budget, and the scale of your home recording setup. Regardless of which option you choose, implementing a solid backup strategy is essential to safeguard your music, recordings, and countless hours of creative effort from the unpredictable nature of data loss.
Mic Placement 🎤🎙️
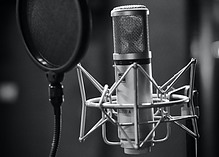 Microphone placement is a captivating art that can be both exhilarating and baffling. When setting up your home recording studio, don’t rush past this crucial step. Novice recording enthusiasts often underestimate the profound influence that microphone placement can have on the overall quality of their recordings. As they say, “It’s all about location, location, location.”
To truly unlock the potential of your studio and capture the essence of your music or production, invest time in learning and exploring various microphone techniques. Think of it as the quest for your studio’s Holy Grail – the sweet spot that will bring your recordings to life. Here, we delve deeper into the fascinating world of microphone placement.
Poor Cable Management
Cable clutter is not just unsightly; it can also lead to interference and signal loss. Disorganized cables can disrupt your workflow and hinder quick troubleshooting. To avoid this mistake, invest time in organizing your cables using cable clips, wraps, and labels. Proper cable management will not only make your studio look more professional but also improve functionality.
Power Management
Electrical issues are often overlooked in home recording studios. Using a surge protector or an uninterruptible power supply (UPS) can safeguard your equipment from power surges and fluctuations. Neglecting this can lead to damaging your expensive gear or losing unsaved work in the event of a power outage.
Overloading Your Workspace
It’s easy to get carried away with equipment purchases and fill your studio with gear. However, overloading your workspace with unnecessary equipment can lead to clutter, reduced efficiency, and a chaotic work environment. Prioritize what you truly need for your specific projects and workflow and avoid overcrowding your space.
Rushing the Learning Curve
Setting up a home recording studio is exciting, but it’s easy to rush into recording and production without mastering the necessary skills. Take your time to learn about recording techniques, audio processing, and digital audio workstations (DAWs). The learning curve can be steep, but patience and practice will lead to better results.
Regular Maintenance
Once your home recording studio is up and running, don’t forget about regular equipment maintenance. Dust, dirt, and wear and tear can degrade the performance of your gear over time. Follow manufacturers’ guidelines for cleaning and maintaining your equipment to ensure longevity and consistent quality.
in a nutshell … 🥜
Setting up a home recording studio should be fun with opportunities for creativity and self-expression. However, it’s essential to acknowledge that making mistakes is a natural part of the learning process. Don’t be discouraged if you stuff things up along the way. Just learn from each mistake and get on with it.
Any questions, please reach out in the comments below!
Mic placement is one I’m just starting to experiment with. Is it true that it’s different again depending on the mic? I use a Sennheiser 416 and I watched a vid with some VO pros having a really long convo about what each preceded. From above. From below. From the side. Got any specific techniques for different mics? Or different mic ideas for different rooms?
Hey Matt,
Absolutely, mic placement can significantly affect the sound quality, and it can indeed vary depending on the microphone you’re using. The Sennheiser 416 is a fantastic shotgun microphone, great for voice overs because has the ability to focus on sound coming from directly in front of it while rejecting sounds from the sides and rear.
When it comes to placement:
From Above: often used in film, where the mic is out of the frame but as close to the subject as possible. It’s great for capturing clear dialogue without picking up unwanted ambient noise.
From Below: This can be useful in situations where overhead placement isn’t feasible. But you’ve gotta be careful coz sound can reflect off the ground or floor.
From the Side: This can be a technique used when you want to capture a more natural or ambient sound. It can give a different character to the audio.
As for different mic ideas for different rooms:
Small or Reflective Rooms: Consider using a dynamic cardioid microphone. They’re less sensitive to room reflections and background noise.
Larger Rooms or Studios: Condenser microphones, especially those with a cardioid or supercardioid pattern, can be ideal. They’re sensitive and can capture more detail.
Rooms with Unpredictable Acoustics: Shotgun microphones, like your Sennheiser 416, are great.
Hope this helps! Thanks for the comment!
This was a great read! Thanks Mike. I have been wanting to create and set up my own recording set up but wasn’t sure where to start, so this is awesome. Still a lot to learn, but this has helped a lot. Might check out some of your other posts now! Thanks again and have a great day! 🎤🎧
Excellent! Thanks for checking out the site Sariya! Let me know if you need any other help.