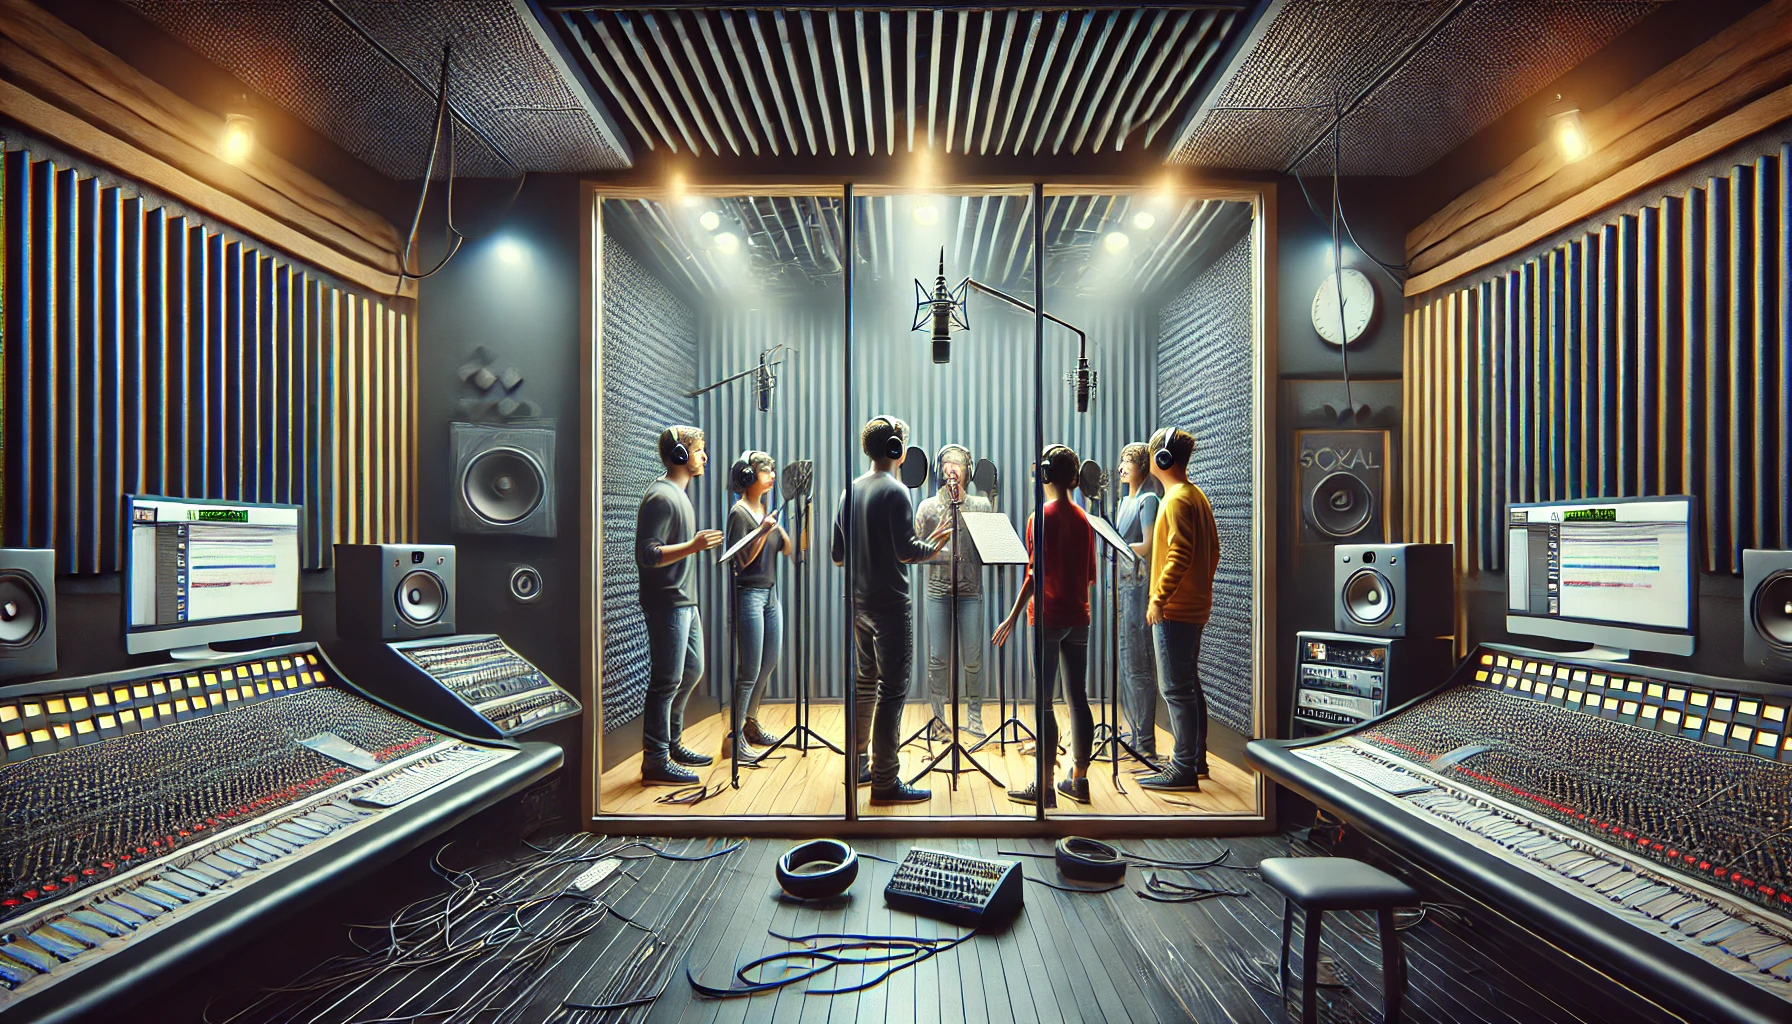
Before you start recording voiceovers, getting the space you’re recording in set up correctly is number one.
A quiet, acoustically treated space can make the difference between an amateur recording and a professional one. The cleaner the audio you record, the less work you’ll need to do later. Preferably no work at all.
Aim for a room with minimal echo. You don’t want the sound of your voice bouncing around the room off the walls. So you may need to set up some basic sound proofing.
Next, carefully consider which microphone is best for your space and voice. There are many different types of mics, so choosing the right one for you will be a massive plus. Some are better for voice work than others.
A condenser microphone will be great for capturing every little nuance in your voice. Condensers are very sensitive and have an and wide frequency response. So basically they make everything sound warm and fuzzy.
However, if your room has some noise, then a dynamic mic will be better. Dynamic mics are more directional and zoom in on just your voice, without picking up room noise.
Something else you’ll want to think about getting is a pop filter.
A pop filter is a small screen (or sock over your mic) will reduce plosives, those annoying popping sounds that happen when you say ‘Peter Piper Picked a Peck of Pickled Peppers’. They are not expensive and will make your recordings sound sweet like candy.
Make sure your script is readable at a glance. Highlight any key points if you need to, and have a few run throughs before you get online with a client or hit record so you won’t be stumbling trying to get your mouth around words reading something for the first time.
Last of all, tackle any potential background noise. Turn off the air conditioner if it’s noisy. Do a sound check and record a sample to see if there’s any unwanted noise.
>>> M-Audio’s Komplete Audio 6: Review <<<
 Recording Voiceovers: Equipment and Software Settings
When you’re setting up equipment for a voice over recording little details matter. If you need a professional sound for broadcast you need to get the right gear and software.
First up, let’s talk about mic settings.
Adjusting the input level (gain) of your microphone is important to record at the best volume, into your software. Too low and you won’t hear it, meaning you’ll need to boost levels later, which can add more noise to the recording. Too high, and you risk distortion.
Leave a bit of space whenever recording. The best setting is having your voice peaking at around -6 dB. This way there’s plenty of headroom to make adjustments later.
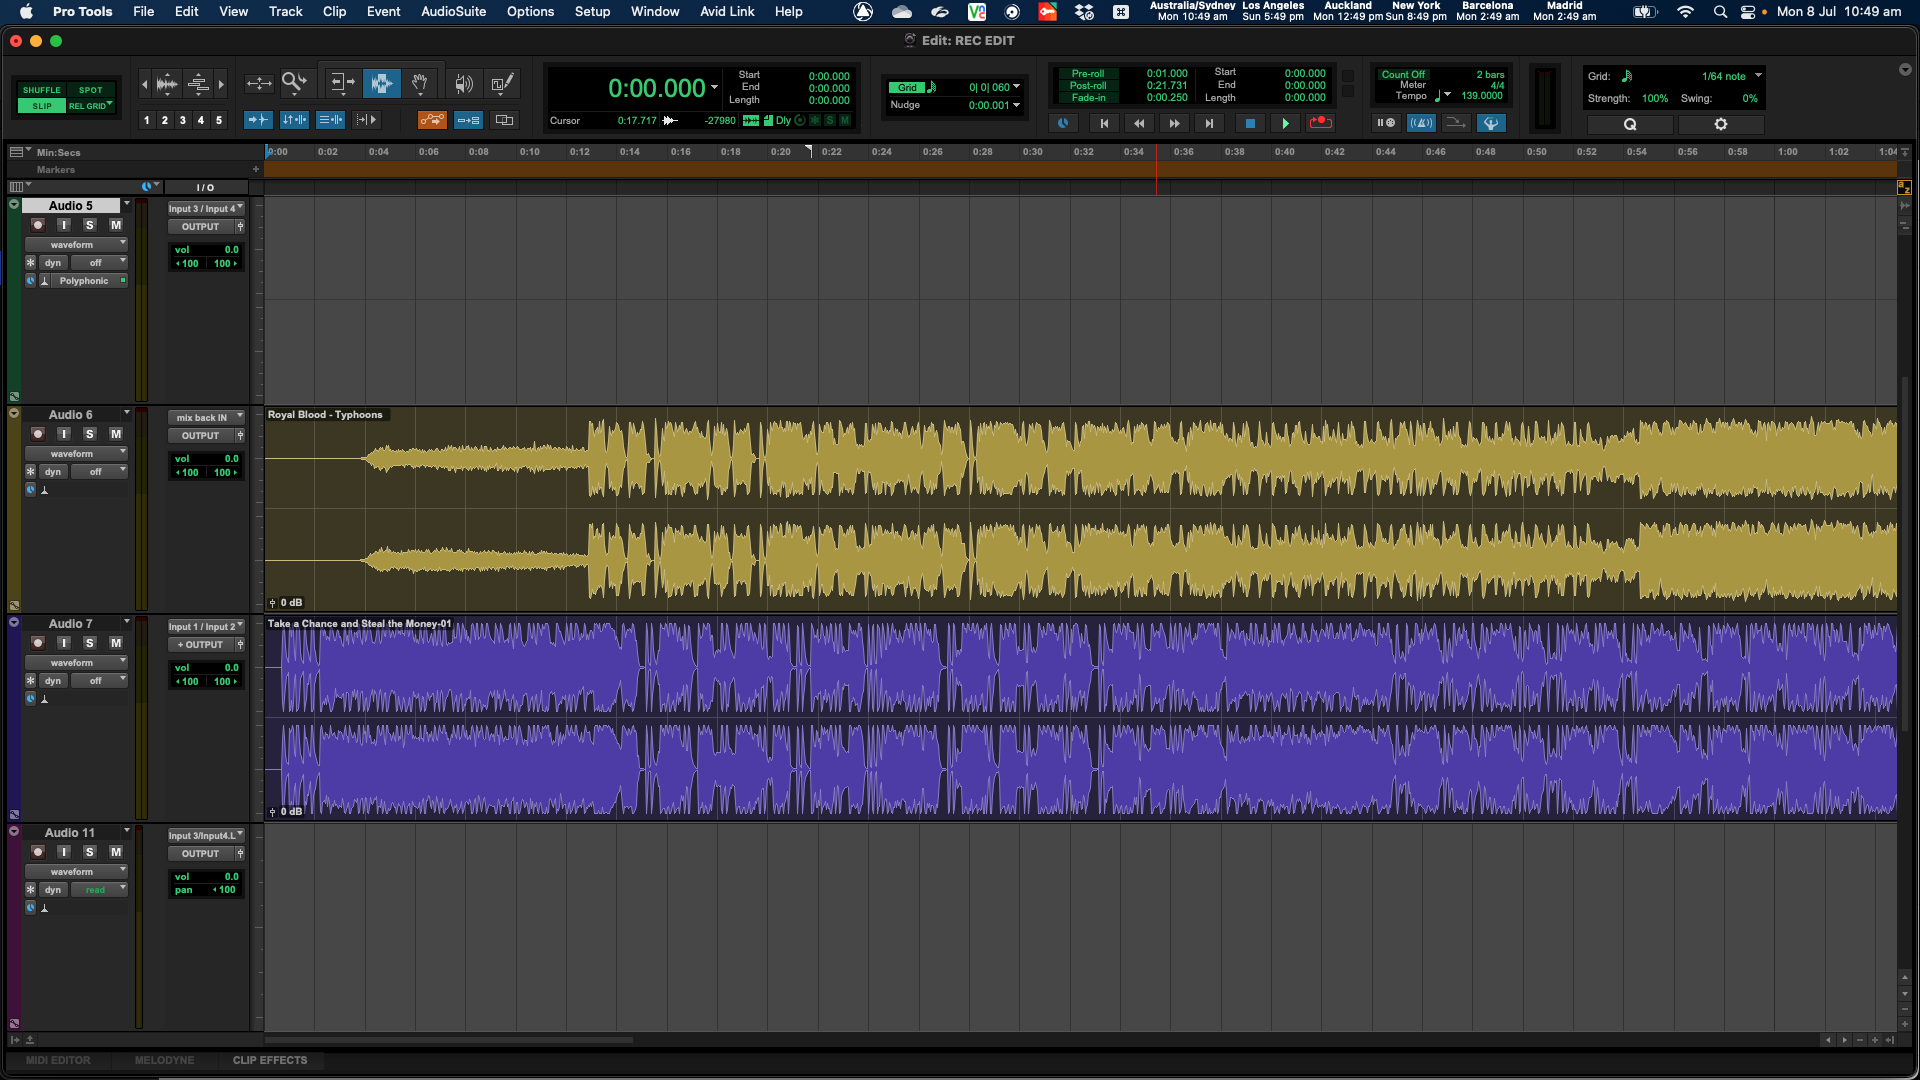
One questions voice over artists are always asking me is ‘what is the best recording and editing software to get?’ Like anything, this depends on your budget.
Audacity is a free program that has everything you need for recording, editing and exporting a voice over. It’s a very basic program. So if you are trying to do things on a tight budget, this is probably the way to go.
Then, there are more professional programs like Adobe Audition and Pro Tools.
These programs come with a lot more things you can play around with in the box. But they will cost you a bit more money. I usually recommend jumping in and going straight to the pro gear, as if you’re serious about this you’ll no doubt end up here in the end anyway.
Once you download and install your software, spend some time playing around with settings and learning what everything does. Things like filters and EQ settings can improve sound quality by reducing unwanted frequencies and enhancing your voice.
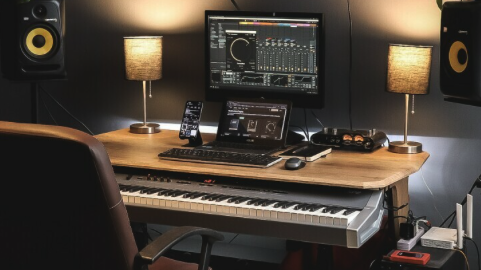
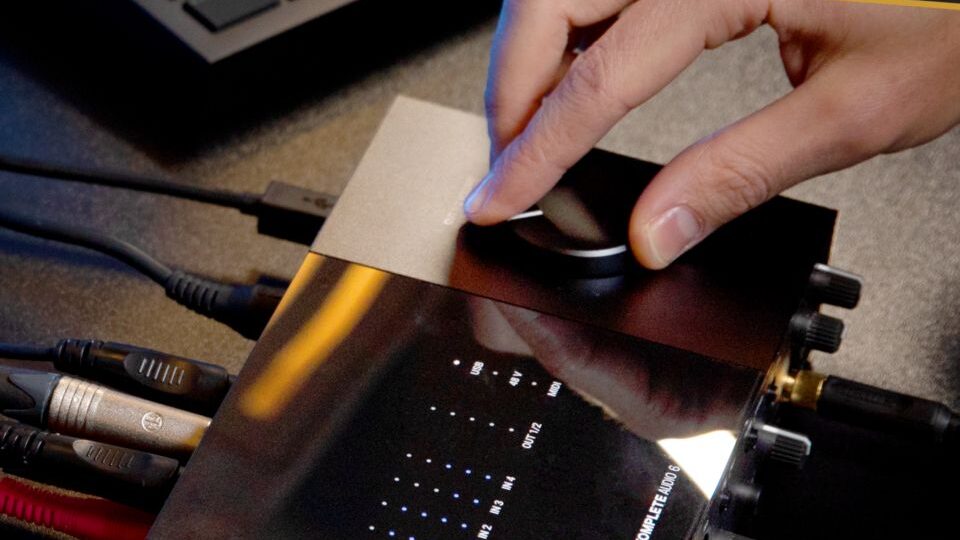
You’ll also need an audio interface. This is the bit of equipment that has inputs and outputs to connect your microphone and headphones to the computer to you can record and monitor audio.
There are many to choose from. I use the Komplete Audio 6 from Native Instruments.

>>> Learn More About FX You Can Add To Your Voice <<<
A high-pass filter, for instance, can cut out low-end rumble, while a modest EQ boost around 100-150 Hz can warm up your voice. You can also use a ‘gate’ to reduce room noise while recording. And limiters and compressors can also enhance your recording.
Remember though, most audio producers will prefer unprocessed, raw audio files, so be very careful when using any processing on your recordings. I’d suggest only using very subtle changes to provide the client with the best quality sound you can.
If you have a perfect sonically treated room no adjustments will be needed at all.
Next, it’s important to understand bit rates. A higher bit rate means better sound quality but results in larger file sizes. As for sample rate, 44100Hz is standard for voiceovers.
Lastly, always wear headphones while recording. They allow you to monitor your voice in real-time and help prevent feedback. Closed-back headphones are preferred to avoid sound leaking into your microphone. I love using the Audio-Technica headphones.
The other thing about wearing headphones and adjusting the volume is you’ll notice it changes your performance. So learn to find a volume that feels good for you and experiment with different styles.
For example, if I’m doing a low husky read, having the headphones up louder helps me sink right into the sound and I can hear every tone of my voice. This way you have more control.
Then again, if I’m speaking louder I might turn the headphones down or in some cases, after I know the recording sounds good I’ll take the headphones off completely.
>>> Best Microphones for Recording Voice Overs <<<
 Understanding Vocal Techniques
Recording the best voice over that conveys a message in a specific tone or character is all about learning to use your voice as an instrument. It’s not as simple as just reading a script. It’s about learning and understanding and controlling the nuances of your voice.
The first thing you need to master is pace. The pace you speak sets the rhythm of the message. Too fast and it’ll be harder to understand. Too slow and people could lose interest. Depending on the direction from the client, find a balance that feels natural.
The next thing to consider is pitch and tone, or as you’ll often hear it directed ‘light and shade’. Varying pitch helps emphasize important points, and a consistent tone can reinforce the underlying message. It also gives everything a bit more movement and life.
Breath control is another crucial aspect.
Without it, you could run out of air mid-sentence. Learn to breathe from your diaphragm and practice proper breath placement to an ensure smooth, uninterrupted read. Learning to breathe correctly can also help give you control over things like tone and timing.
Try and connect with the script emotionally. Obviously if it’s for a sale on power tools this doesn’t apply. But the ability to connect emotionally with a script can make it way more memorable, natural and emotive. But if the script is joyful, reflect that.
Taking care of your vocal chords is also important. Drink plenty of water, warm up and relax to avoid being stressed. A dry throat or stress can affect your voice dramatically.
Finally, avoid common things beginners are always guilty of. Don’t use a deadpan delivery (unless directed to), don’t overact, pause in the right places and watch your inflexions, noting that different styles will require different inflexion at the end of sentence.
>>> Enhancing Your Voice Overs Using EQ and Compression <<<
 Enhancing Your Recording
After recording your voiceover, there are some things you can do to polish it up before sending it out into the universe. Unless the client specifically asked, don’t send off the entire raw audio file, spend time fixing it up to make things easier for the audio producer.
If you’ve done 20 takes, do some basic editing and remove any that are not useful. If you think you’ve done 20 awesome takes, by all means include all of them. This way the client can listen and pick and choose the best. But if not, just edit the final file to the best bits.
If your editing skills are up to scratch, you can go a step further by editing the best bits together into a few really great takes. The client doesn’t need to know it’s taken you 50 attempts to get these 3 awesome reads! So chop away! Trim out any stumbles etc.
Another thing to think about is noise reduction. Get rid of background hiss or hums. This could be eliminating the sound of an air conditioner or other room noise. There are many noise reduction plug ins you can use to achieve this, or you can use a simple gate.
A noise gate (found in many compressors) is a way of removing low end rumble or noise. Just set the threshold for the sound and remove as much as needed. But be careful not to set the threshold too high or you will start removing parts of your vocal.
Then, finally, before you shoot the final edit off, have one last listen and check everything is there. Nothing worse than sending off a dodgy edit and realising later.
Remember, every step in this process adds to your credibility and professionalism as a voiceover artist. Your attention to the smallest details during everything step could be what sets you apart from the competition.