I’ll get to Pro Tools templates in a sec. But first, a bit about me.
I’ve been working in audio production and sound design for about 30 years, and I’ve had the privilege of working with some of the best in the business. My main focus has been on radio imaging. Given this extensive experience, you might think that I’ve got everything figured out, but there’s always something new to learn in this ever-evolving field. Along the way, we’ll hear insights from some top radio professionals to enhance our understanding.
Imposter Syndrome, or Something Like It
Interestingly, even after all these years, I sometimes feel a version of imposter syndrome—not in the traditional sense of doubting my abilities, but more in terms of constantly feeling the need to evolve and improve. This relentless pursuit of enhancing my work is fueled by my habit of constantly listening to other people’s work and using them as reference tracks. This practice ensures that I’m always exposed to new techniques and ideas, keeping my work fresh and innovative. On one hand, it keeps my work cutting-edge. On the other hand, it can be mentally exhausting, especially when my workflow template seems to change daily as I incorporate these new ideas.
The Benefits of Using Pro Tools Templates
One of the key strategies I’ve adopted to manage this constant drive for improvement is the use of templates in Pro Tools. Here’s why I believe templates are essential:
Efficiency and Consistency
Templates save a tremendous amount of time. Instead of setting up a new session from scratch each time, a well-designed template allows me to dive straight into the creative process. This consistency ensures that my projects have a uniform setup, which is crucial for maintaining a high standard across different works.
Ever wondered how to achieve that pro sounding crystal-clear mix that makes each element shine? Dive into the world of mixing with How Do I Achieve a Clear Mix?.
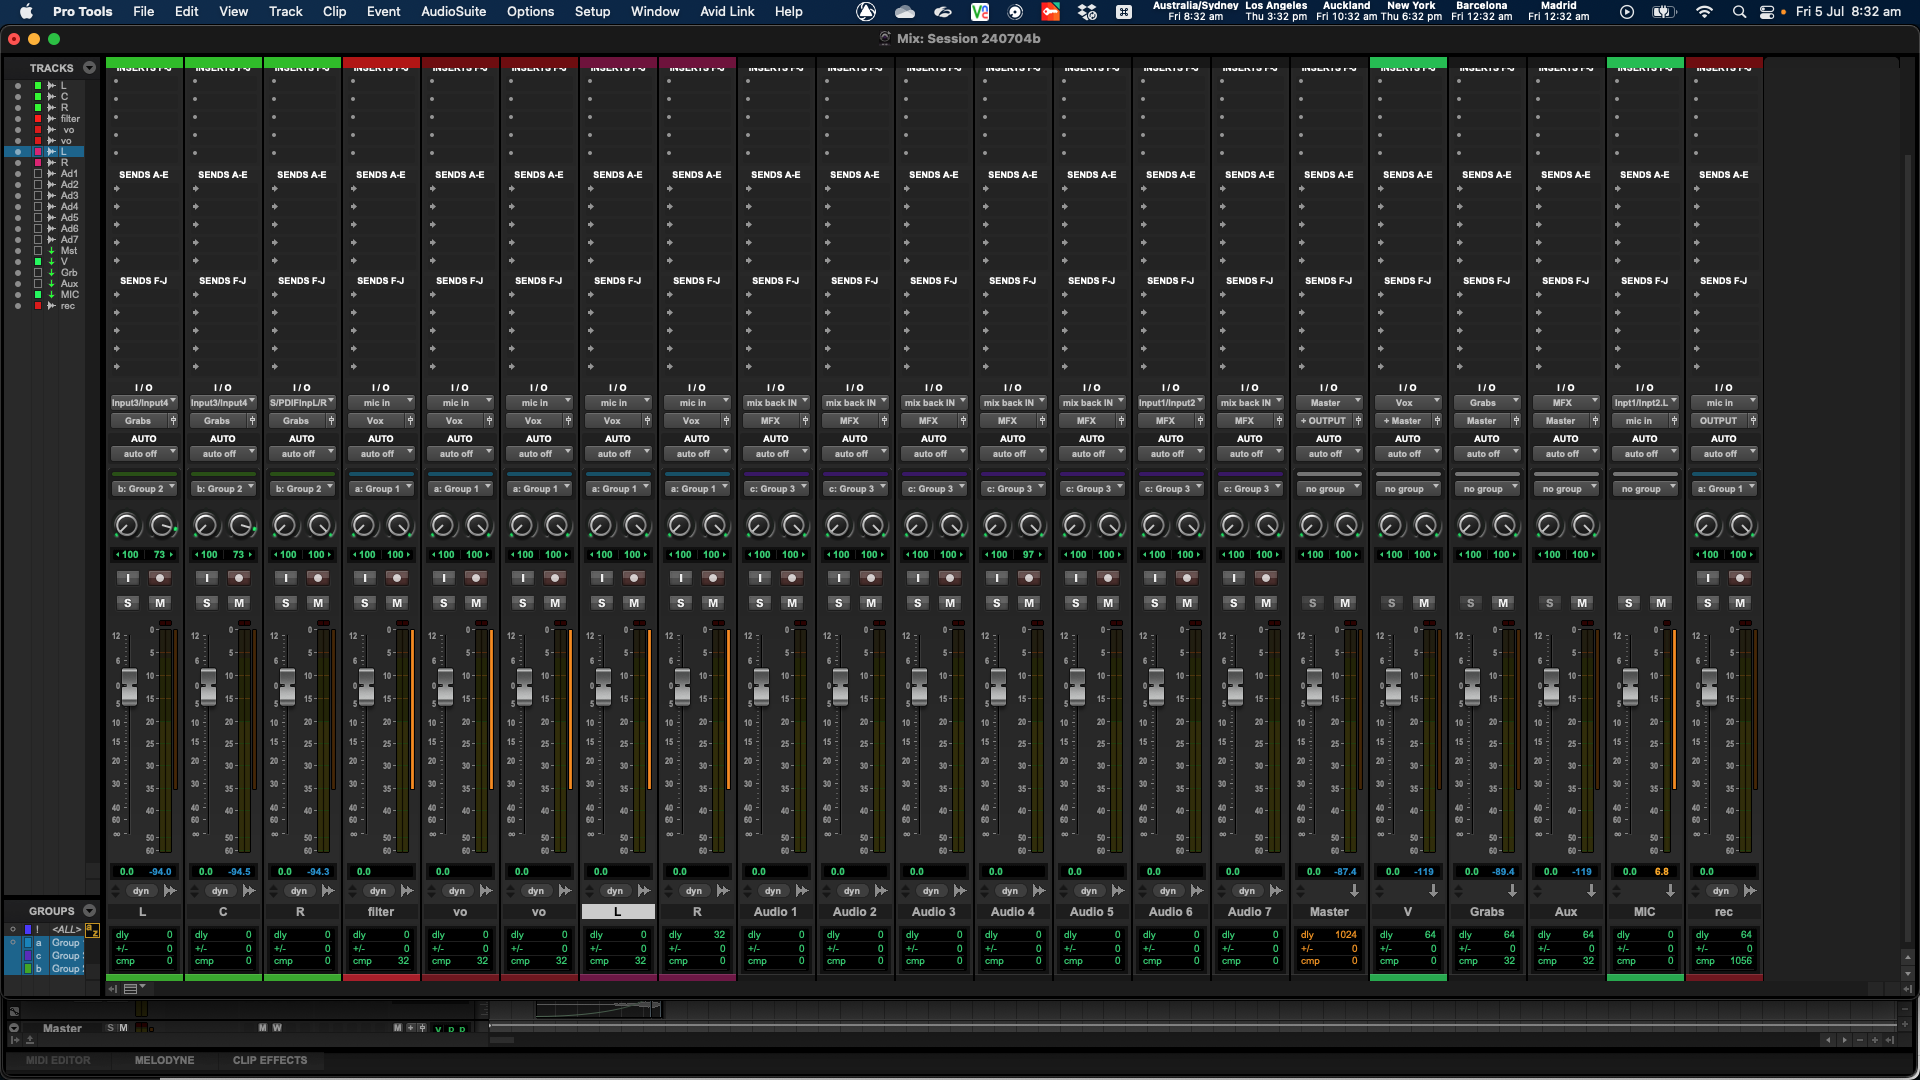
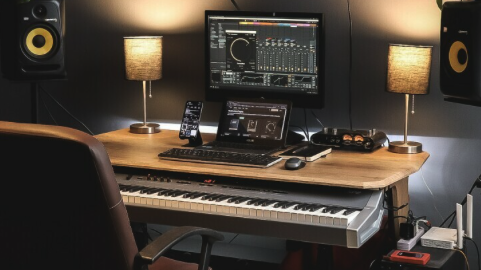
Detailed Description of My Pro Tools Template
My Pro Tools template is designed to maximize efficiency and ensure high-quality output. Here’s my current setup, though it’s likely to change tomorrow because it’s always evolving:
- Three Stereo Tracks for Grabs: These tracks have Waves Audio Track for simple EQ and compression, and H-Delay for delay effects, used for highlights from sports and other grabs.
- Six Mono Voice Tracks: Each track has Waves Audio Track for simple EQ and compression, and Waves Metaflanger with different settings for varied voice effects. Although these are mono tracks, they use stereo plugins, resulting in stereo output.
- Seven Stereo Audio Tracks: Used for music and effects, providing sufficient space for layering and complex soundscapes.
- Buses: A bus for voices and a bus for grabs, both leading into the master bus. The buses are equipped with Waves L3-LL to catch the peaks.
- Master Fader: Uses Waves Maxim for parallel compression/limiting.
Unlock your creative potential by exploring new techniques in Unlocking Creativity.
Focus on Creativity
With the technical setup out of the way, I can focus more on the creative aspects of my job. This is especially important in radio imaging, where the ability to quickly experiment with different sounds and effects can make a significant difference in the final product.
Reducing Errors
A standardized template minimizes the chances of errors that can occur when manually configuring each session. This reliability is vital, especially in professional settings where deadlines are tight, and the margin for error is slim.
“The creative process in imaging is like sculpting. You start with a rough idea and keep refining until it feels just right. It’s all about patience and attention to detail.” – Chris Nicoll, Capital FM (The Imaging Hangout podcast)
Always Driving for New Techniques
Despite the benefits of a stable template, I constantly find myself tweaking and updating it to incorporate new techniques and ideas. This drive to innovate is what keeps my work ahead of the curve. However, it’s essential to find a balance between maintaining a consistent workflow and allowing for creative experimentation.
Dive deep into the mastering process with this Quick Guide to Mastering Audio Production.
Embracing Evolution While Maintaining Efficiency
Set a Baseline Template
Establishing a core template that includes your essential tools and settings provides a foundation you can rely on and return to as a starting point for any session. This helps in maintaining a consistent sound across projects.
Version Control for Templates
Keeping different versions of your template labeled with dates or specific projects allows you to track changes over time and understand the evolution of your workflow. This way, you can always revert to a previous version if needed.
Discover the magic of parallel compression and how it can elevate your mixes.
“Imaging is more than just sound; it’s about creating an emotional connection with the listener. Every element must contribute to the overall story.” – Wade Taylor, BBC Radio 1 (The Imaging Hangout podcast)

Using Macros and Shortcuts for Workflow Efficiency
Another way to achieve a better workflow is through the use of macros and shortcuts. Automating repetitive tasks and creating custom shortcuts can significantly enhance efficiency and streamline your production process.
“Good imaging adds character to a station. It’s the personality and voice that sets it apart and makes it memorable.” – Matt Fisher, BBC Radio 1 (The Imaging Hangout podcast)
Using Keyboard Maestro for Workflow Efficiency
I’ve been using Keyboard Maestro for years to create and manage shortcuts across all applications on my Mac. This tool is awesome for streamlining repetitive tasks and enhancing my workflow. Here are a few ways I use it:
- Session Setup Macros: Automate the creation of new sessions, track setups, and application of initial settings.
- Editing and Navigation Macros: Quick zoom, marker management, and clip gain adjustments.
- Processing and Effects Macros: Apply chains of effects to selected clips or tracks.
- Exporting and Rendering Macros: Automate bounce settings and exporting processes.
Using Keyboard Maestro has significantly improved my efficiency, allowing me to focus more on the creative side of my work.
Wanna make your mix radio-ready? Discover the secrets the professions use in Radio Ready Mix.

In a Nutshell
Using templates in Pro Tools has significantly enhanced my workflow by saving time, ensuring consistency, and allowing me to focus more on the creative aspects of my work. This approach not only improves efficiency but also supports better collaboration and reduces the potential for errors, making it an invaluable practice for any professional audio producer.
Balancing the need for a consistent workflow with the drive for continuous improvement can be challenging but rewarding. By learning from others, maintaining a flexible yet structured approach, I’ve found a way to keep my work both innovative and reliable. And remember, everyone experiences a bit of imposter syndrome now and then. So just relax, trust in your skills, and enjoy the creative process.
Integrating Creative Pro Tools Templates into my workflow has proven to be an essential practice for professional audio producers. By saving time, ensuring consistency, and fostering collaboration, templates enhance efficiency and minimise potential errors. Embracing a flexible yet structured approach allows for continuous improvement while maintaining innovation. So, let go of imposter syndrome, trust in your skills, and embrace the creative process with confidence.